Introduction.
What is ionic Framework?

What is ionic Framework?
Ionic Framework is an open source toolkit for building performant, high-quality mobile and desktop apps using web technologies.
Ionic Framework can build apps for both Android, iOS and Desktop.
Ionic app can be integrated and monitized with Google Admob.
In this course, you would learn how to
- 1. Create content-driven Android Apps using the ionic Framework.
- 2. Monetize the app with Google Admob
- 3. Get my eBook on “Principles of Content Development” (FREE)
Types of Mobile Apps
- Based on 1. Device || 2. Code || 3. Content
→ Device
- 1. Android
- 2. iOS
→ Code
- 1. Native
- 2. Hybrid
→ Structure
- 1. Function-Driven Apps. i.e Photo Editor App
- 2. Content-Driven Apps i.e Health and Wellness App.
Environment Setup
Download all you need to create ionic apps
List of softwares needed to create Ionic Android Apps
1. NodeJS and NPM: → Download
2. Visual Studio Code: → Download
3. Java Dev Kit: → Download JDK | Download JRE
Add path to Environment/system variables
4. Android Studio: → Download
5. Gradle: → Download
Add path to Environment/system variables
Install Ionic CLI
Ionic CLI installation
What does CLI mean?
CLI: Command Line Interface.
CLI is a program that accepts text input to execute various functions.
Windows: CMD || MAC: Terminal
Copy to the Command prompt/Terminal and hit "Enter"
Check NodeJS Version
Check NPM Version
Install Ionic CLI
NOTE: If there was a previous installation of the Ionic CLI, it will need to be uninstalled due to a change in package name.
Uninstall Previous Ionic Version: npm uninstall -g ionic
Create an Ionic App
Create an app with the command
Create an app
Copy to the Command prompt/Terminal and hit "Enter"
Details needed for your app
- 1. FrameWork - Angular || React || Vues
- 2. App Name
- 3. Layout - Blank || Tabs || Sidemenu
- 4. Cordova or Capacitor
Create an Ionic App
Move into the app directory
Add Android platform to your app
Launch the app in the Browser
Create a page
How to create a page in ionic app
Generate a page with the command below
Create a Ionic app page
The last value "home" is the page name.
Create other pages inside a seperate folder named pages
Page UI Components
Everything to help you design your page
Essential UI Components
Below is a list of essential components to help you build a simple User Interface for your Ionic App
Visit → Ionic Docs for a complete list of components.
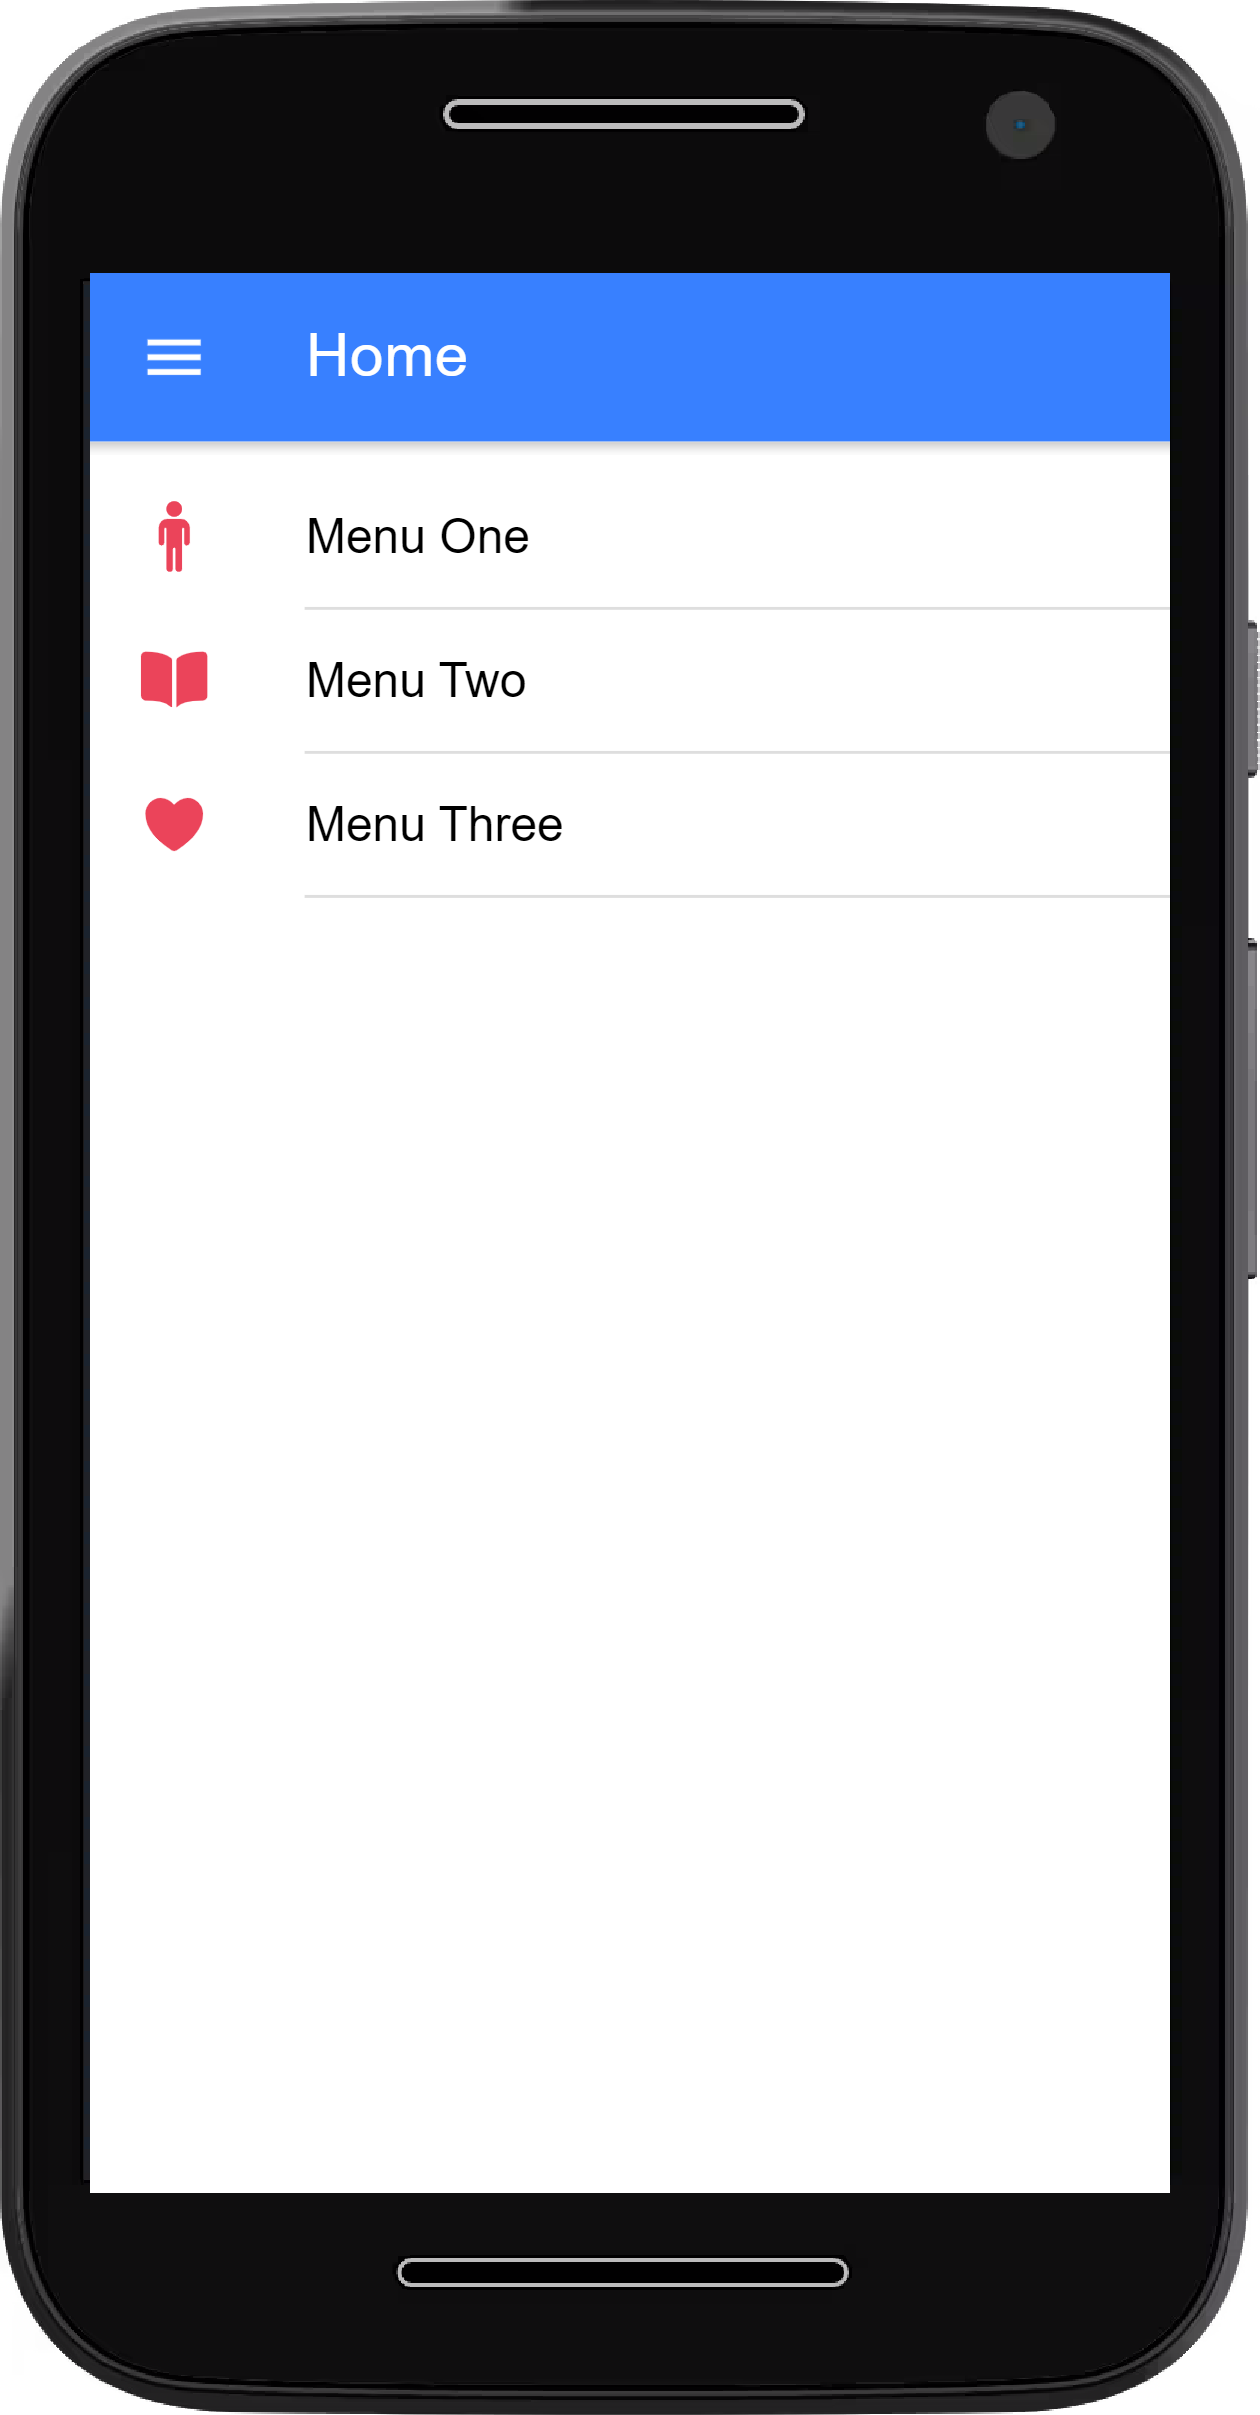
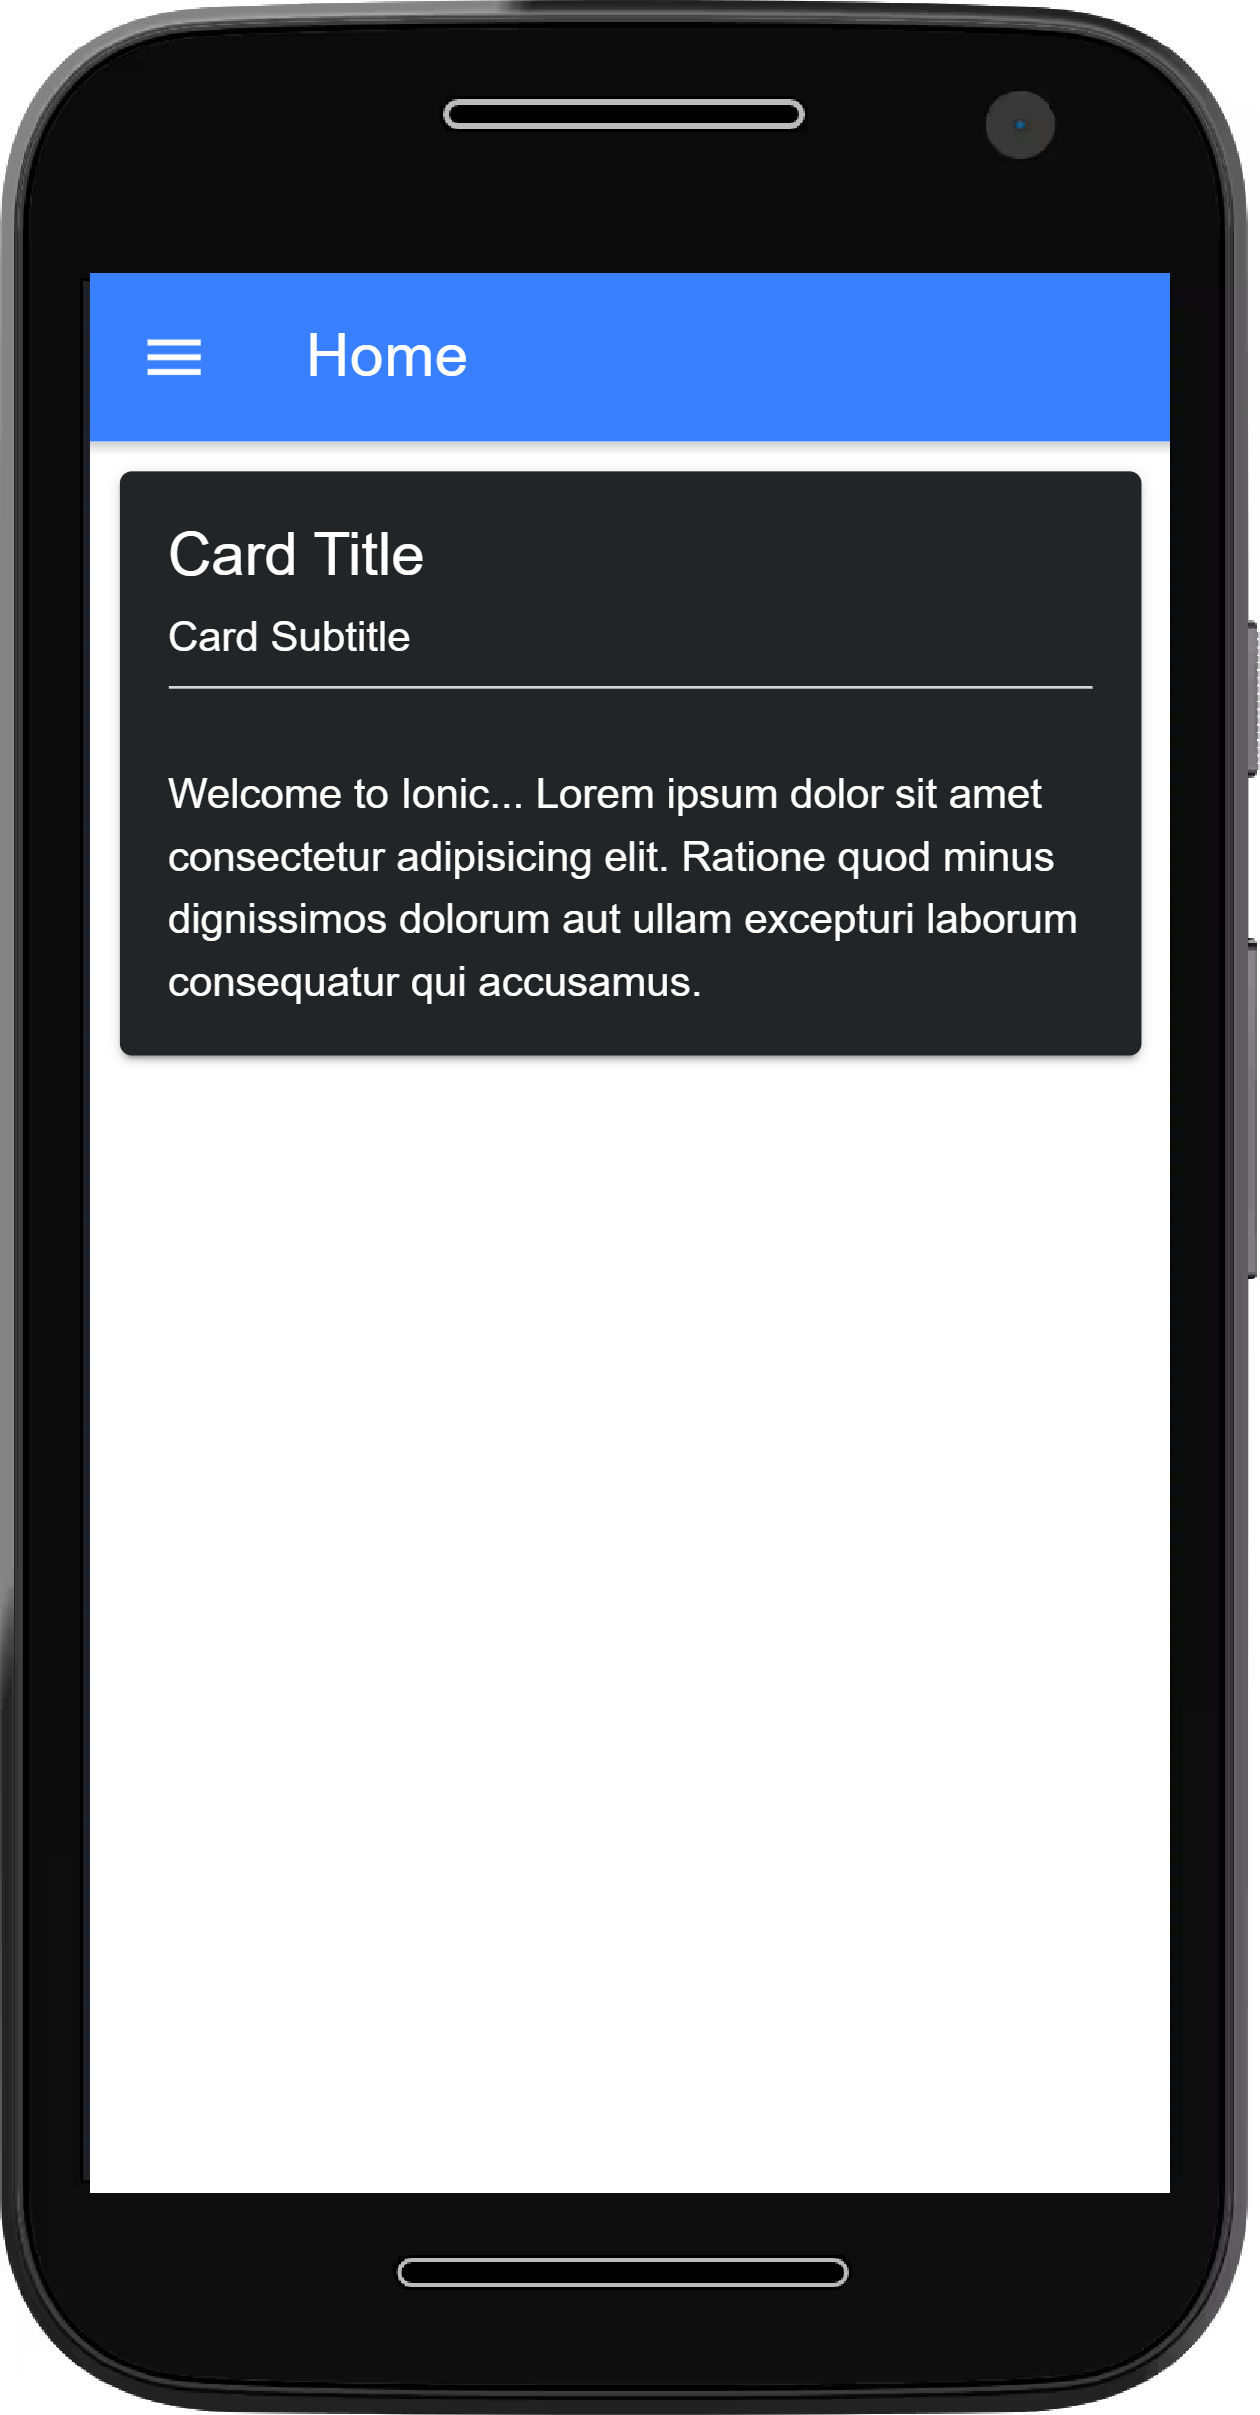
-- Card --
An ionic component that holds other components, like a container.
-- To remove the border around the card add style="box-shadow: none;" to the "card" opening tag.
-- Set card color: color="dark"
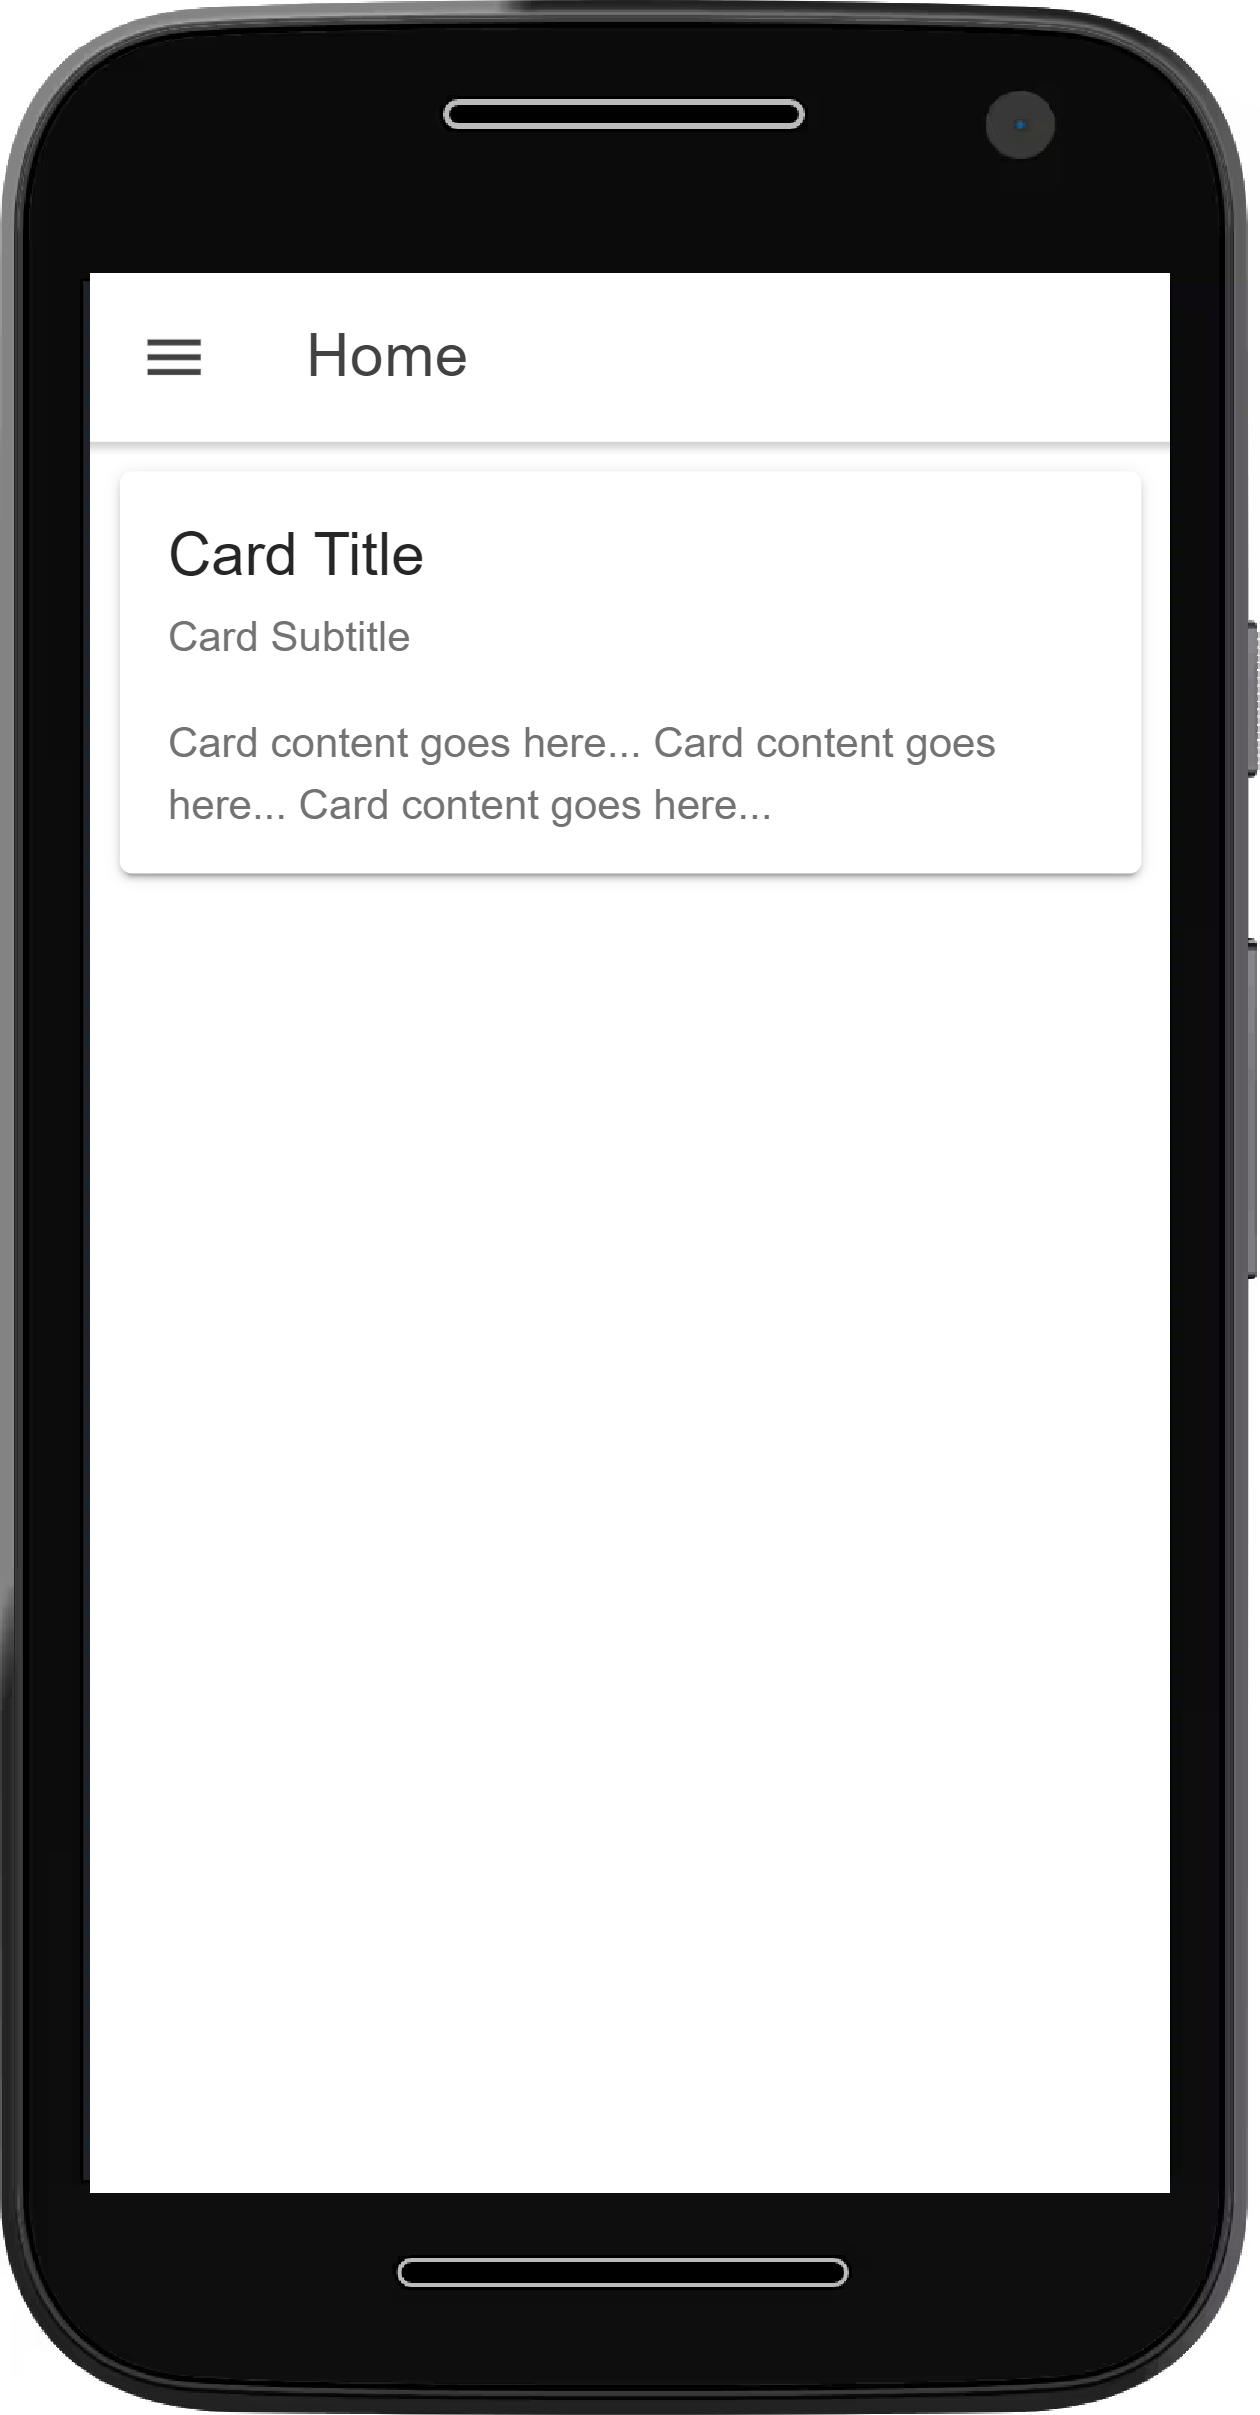
-- Text --
An ionic component that adds text to a page
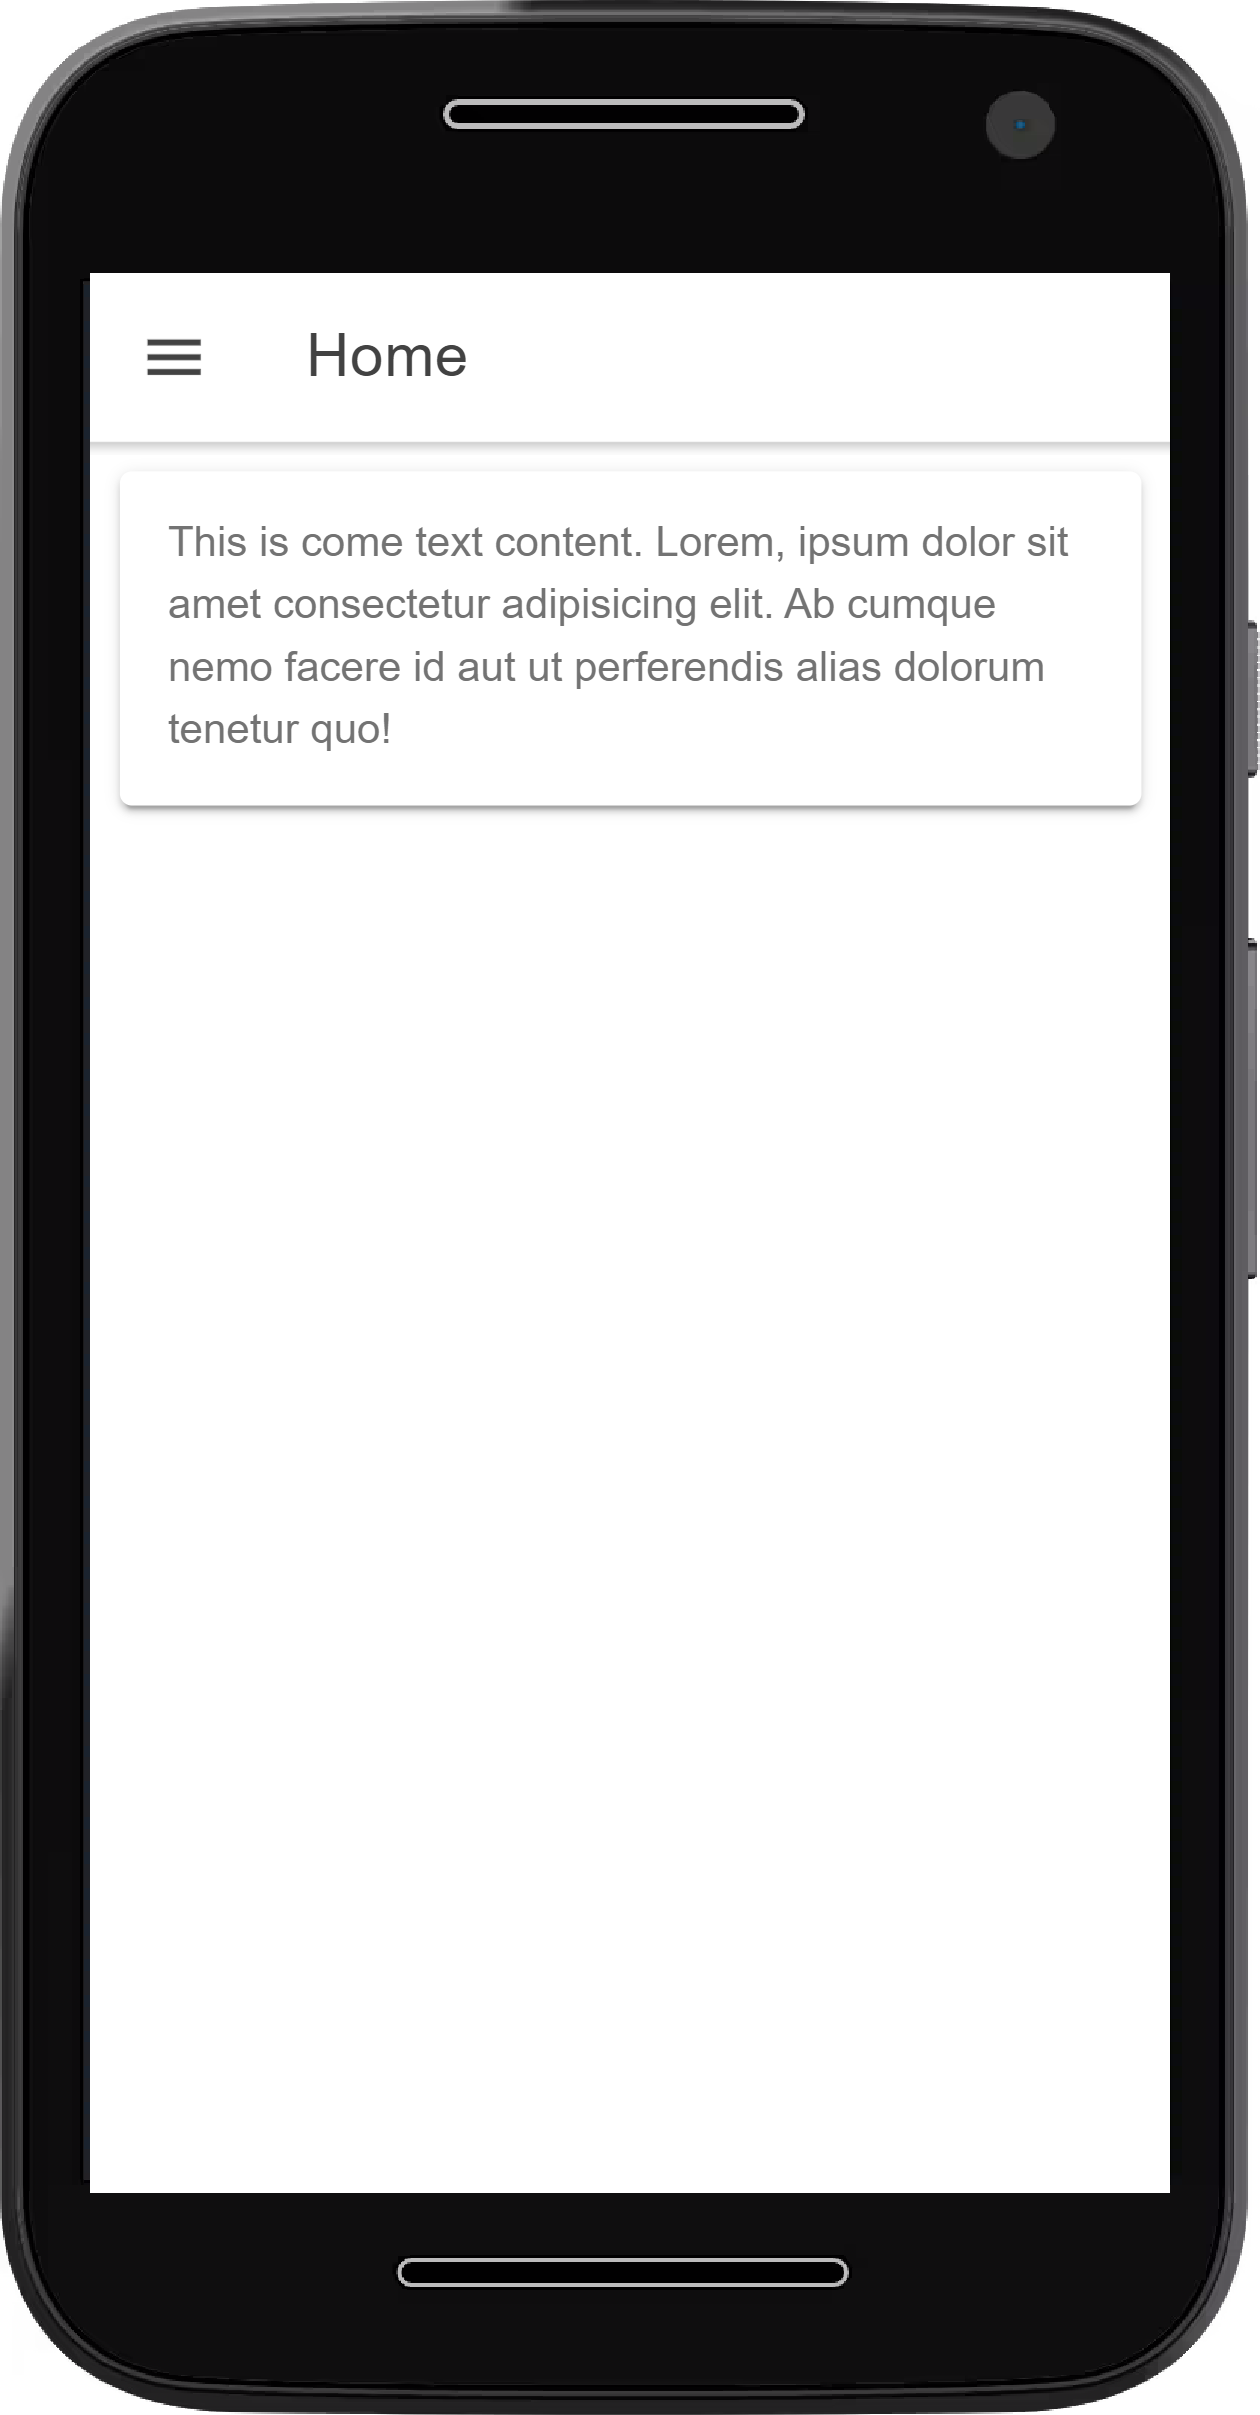
-- Image --
An ionic component that add an image to a page.
-- Locate your assets folder: AppFolder > src > assets
-- Create an images folder within the assets folder, then place your images within the images folder you just created
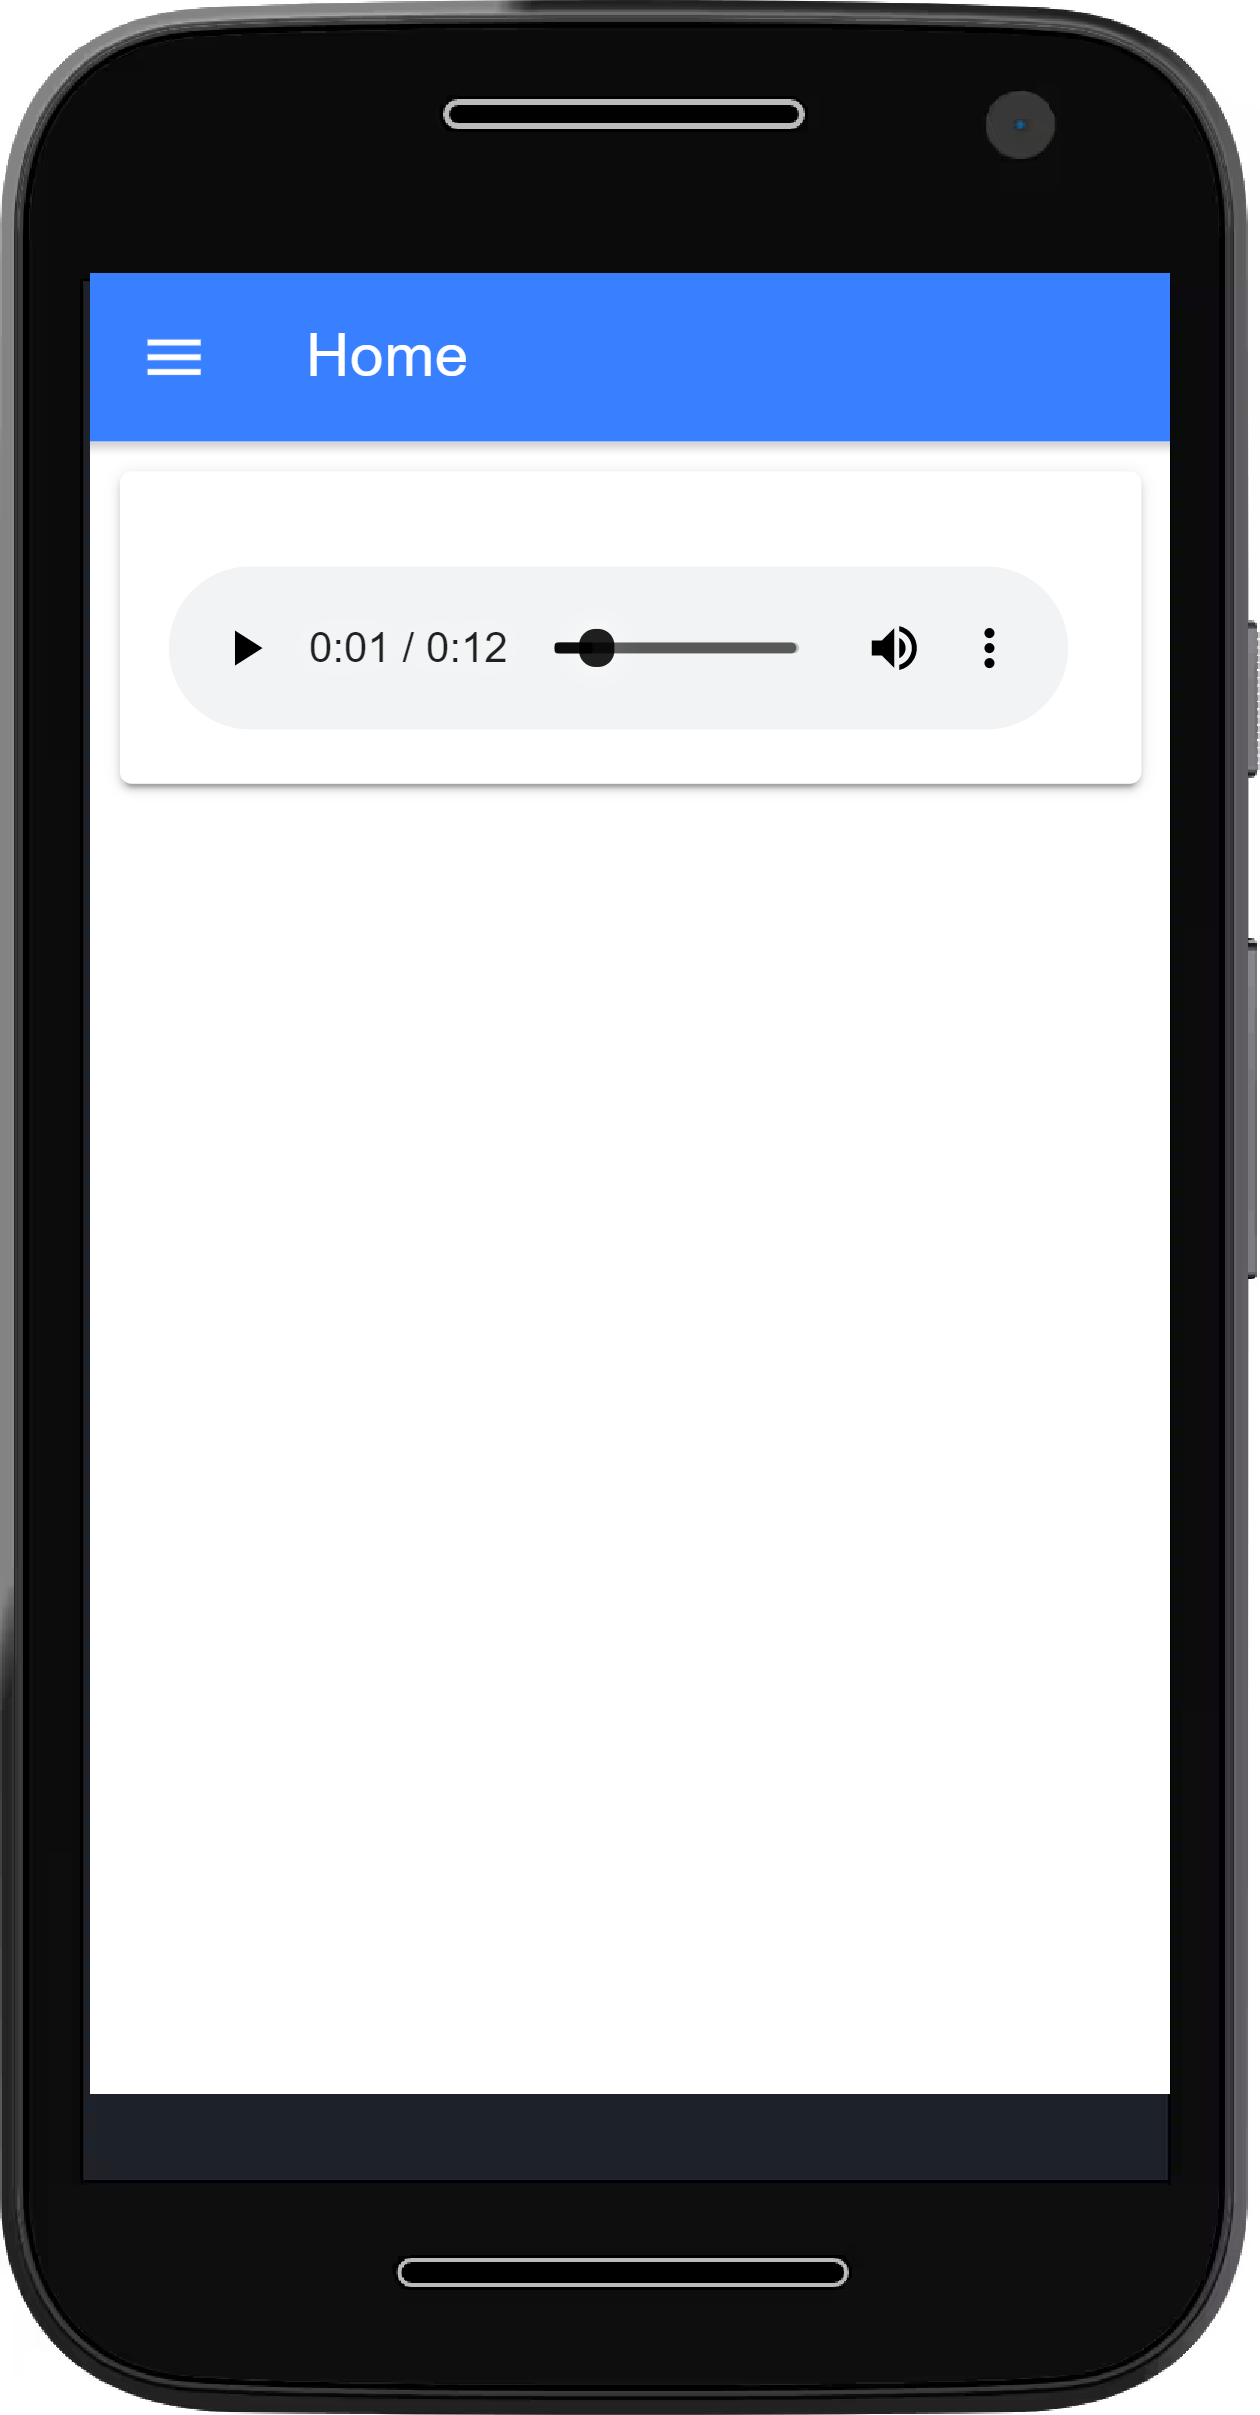
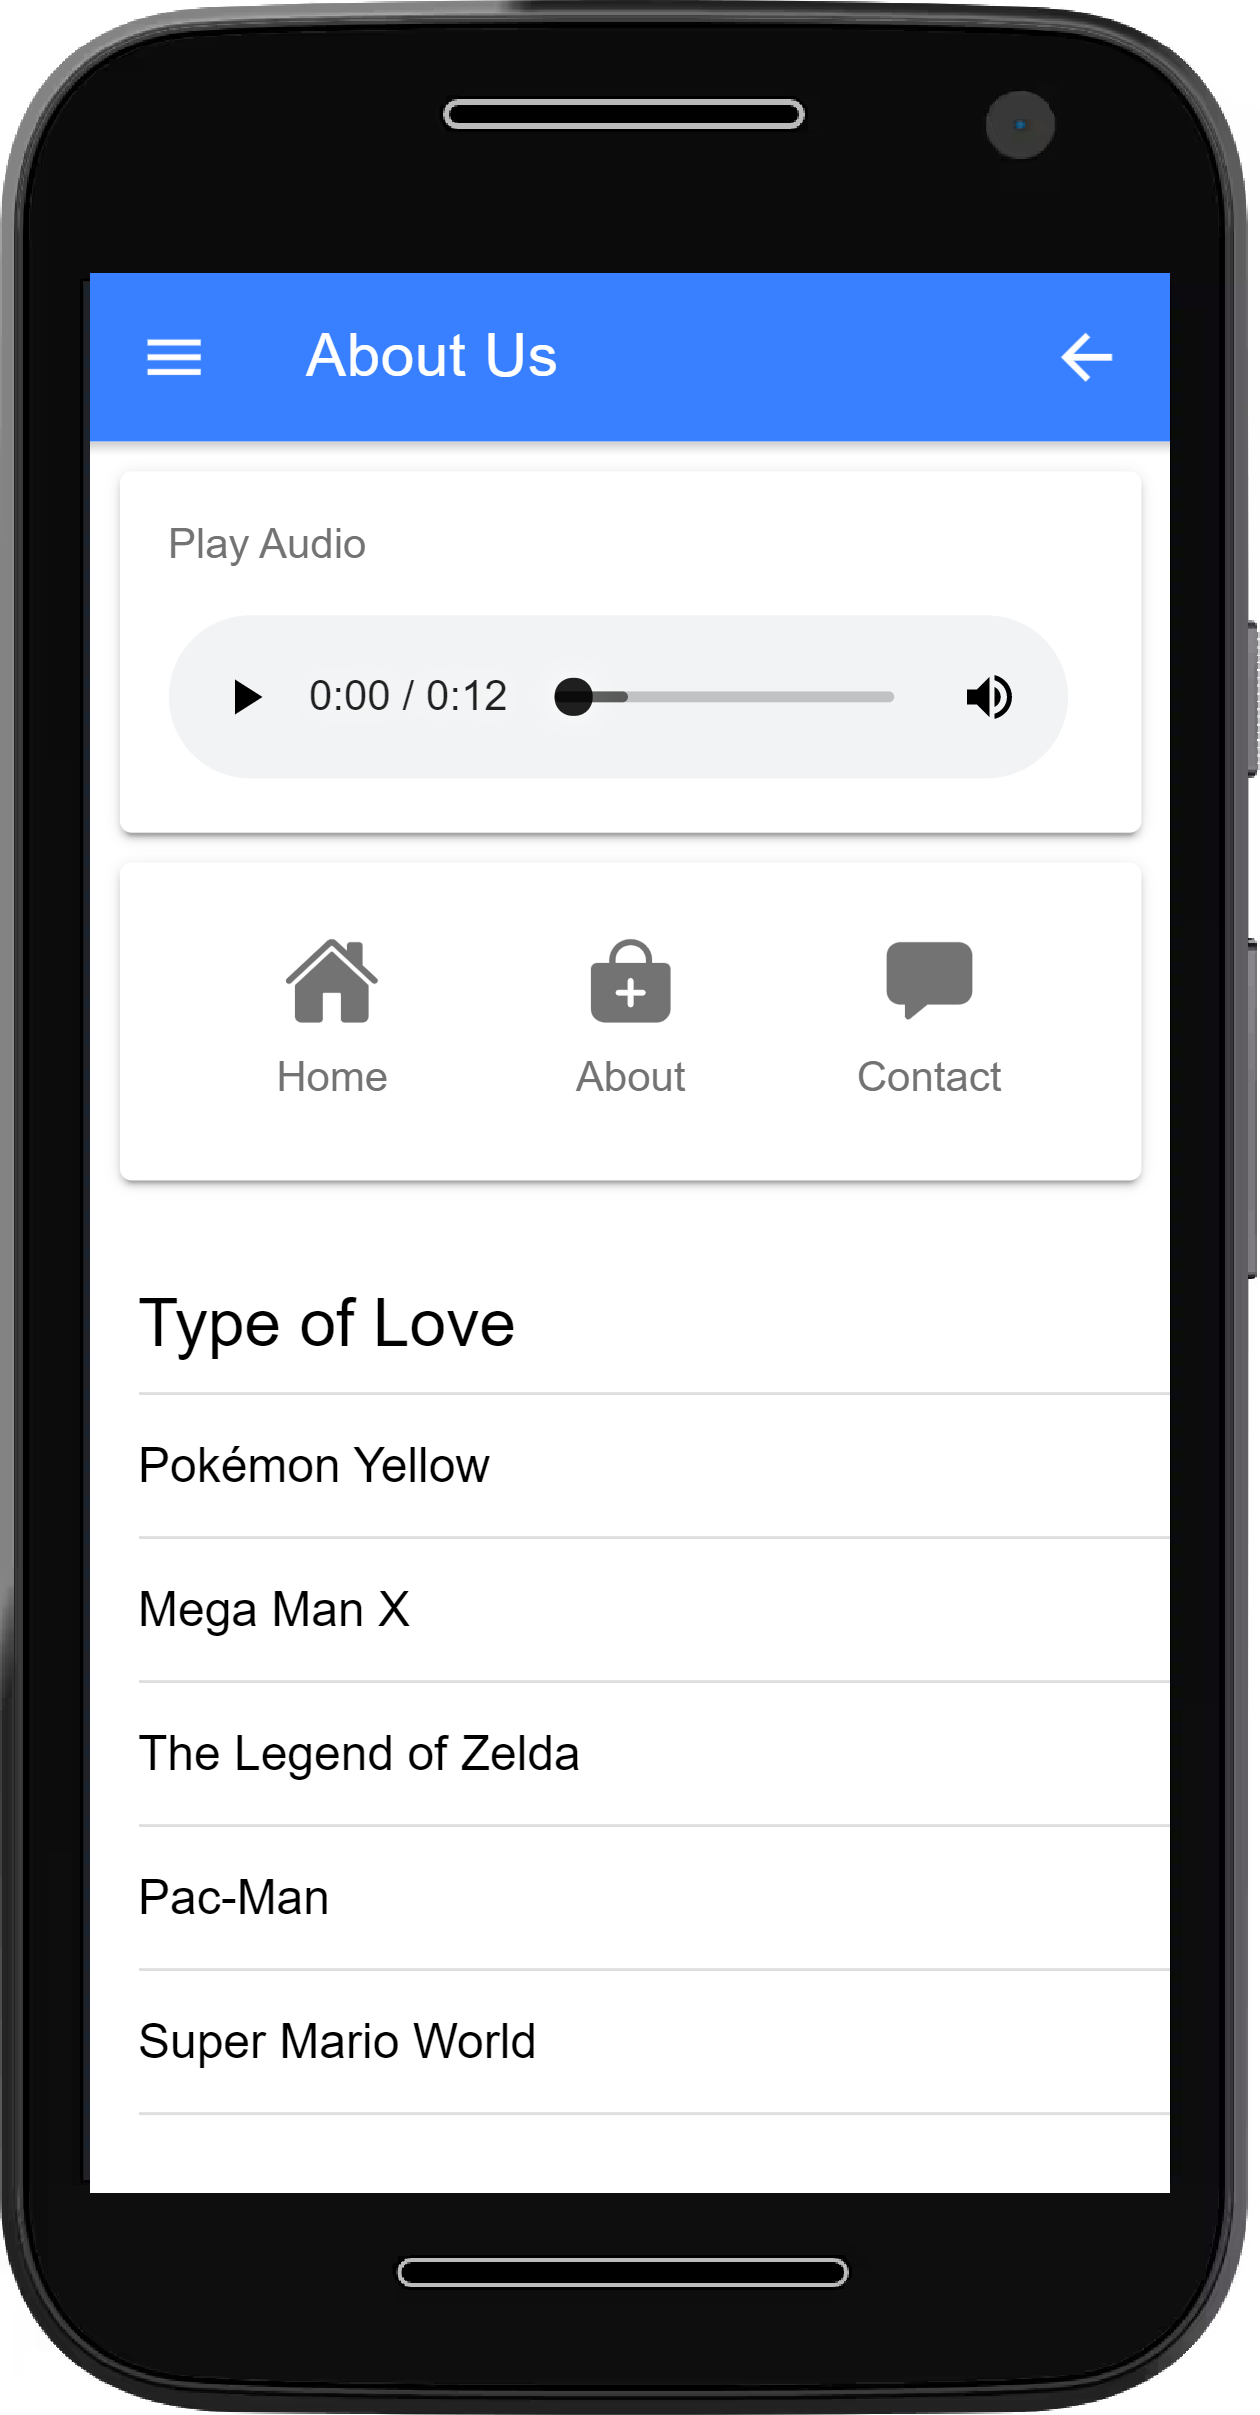
-- Audio --
An ionic component that add an audio file to a page.
-- Locate your assets folder: AppFolder > src > assets
-- Create an audio folder within the assets folder, then place your audio file within the audio folder you just created
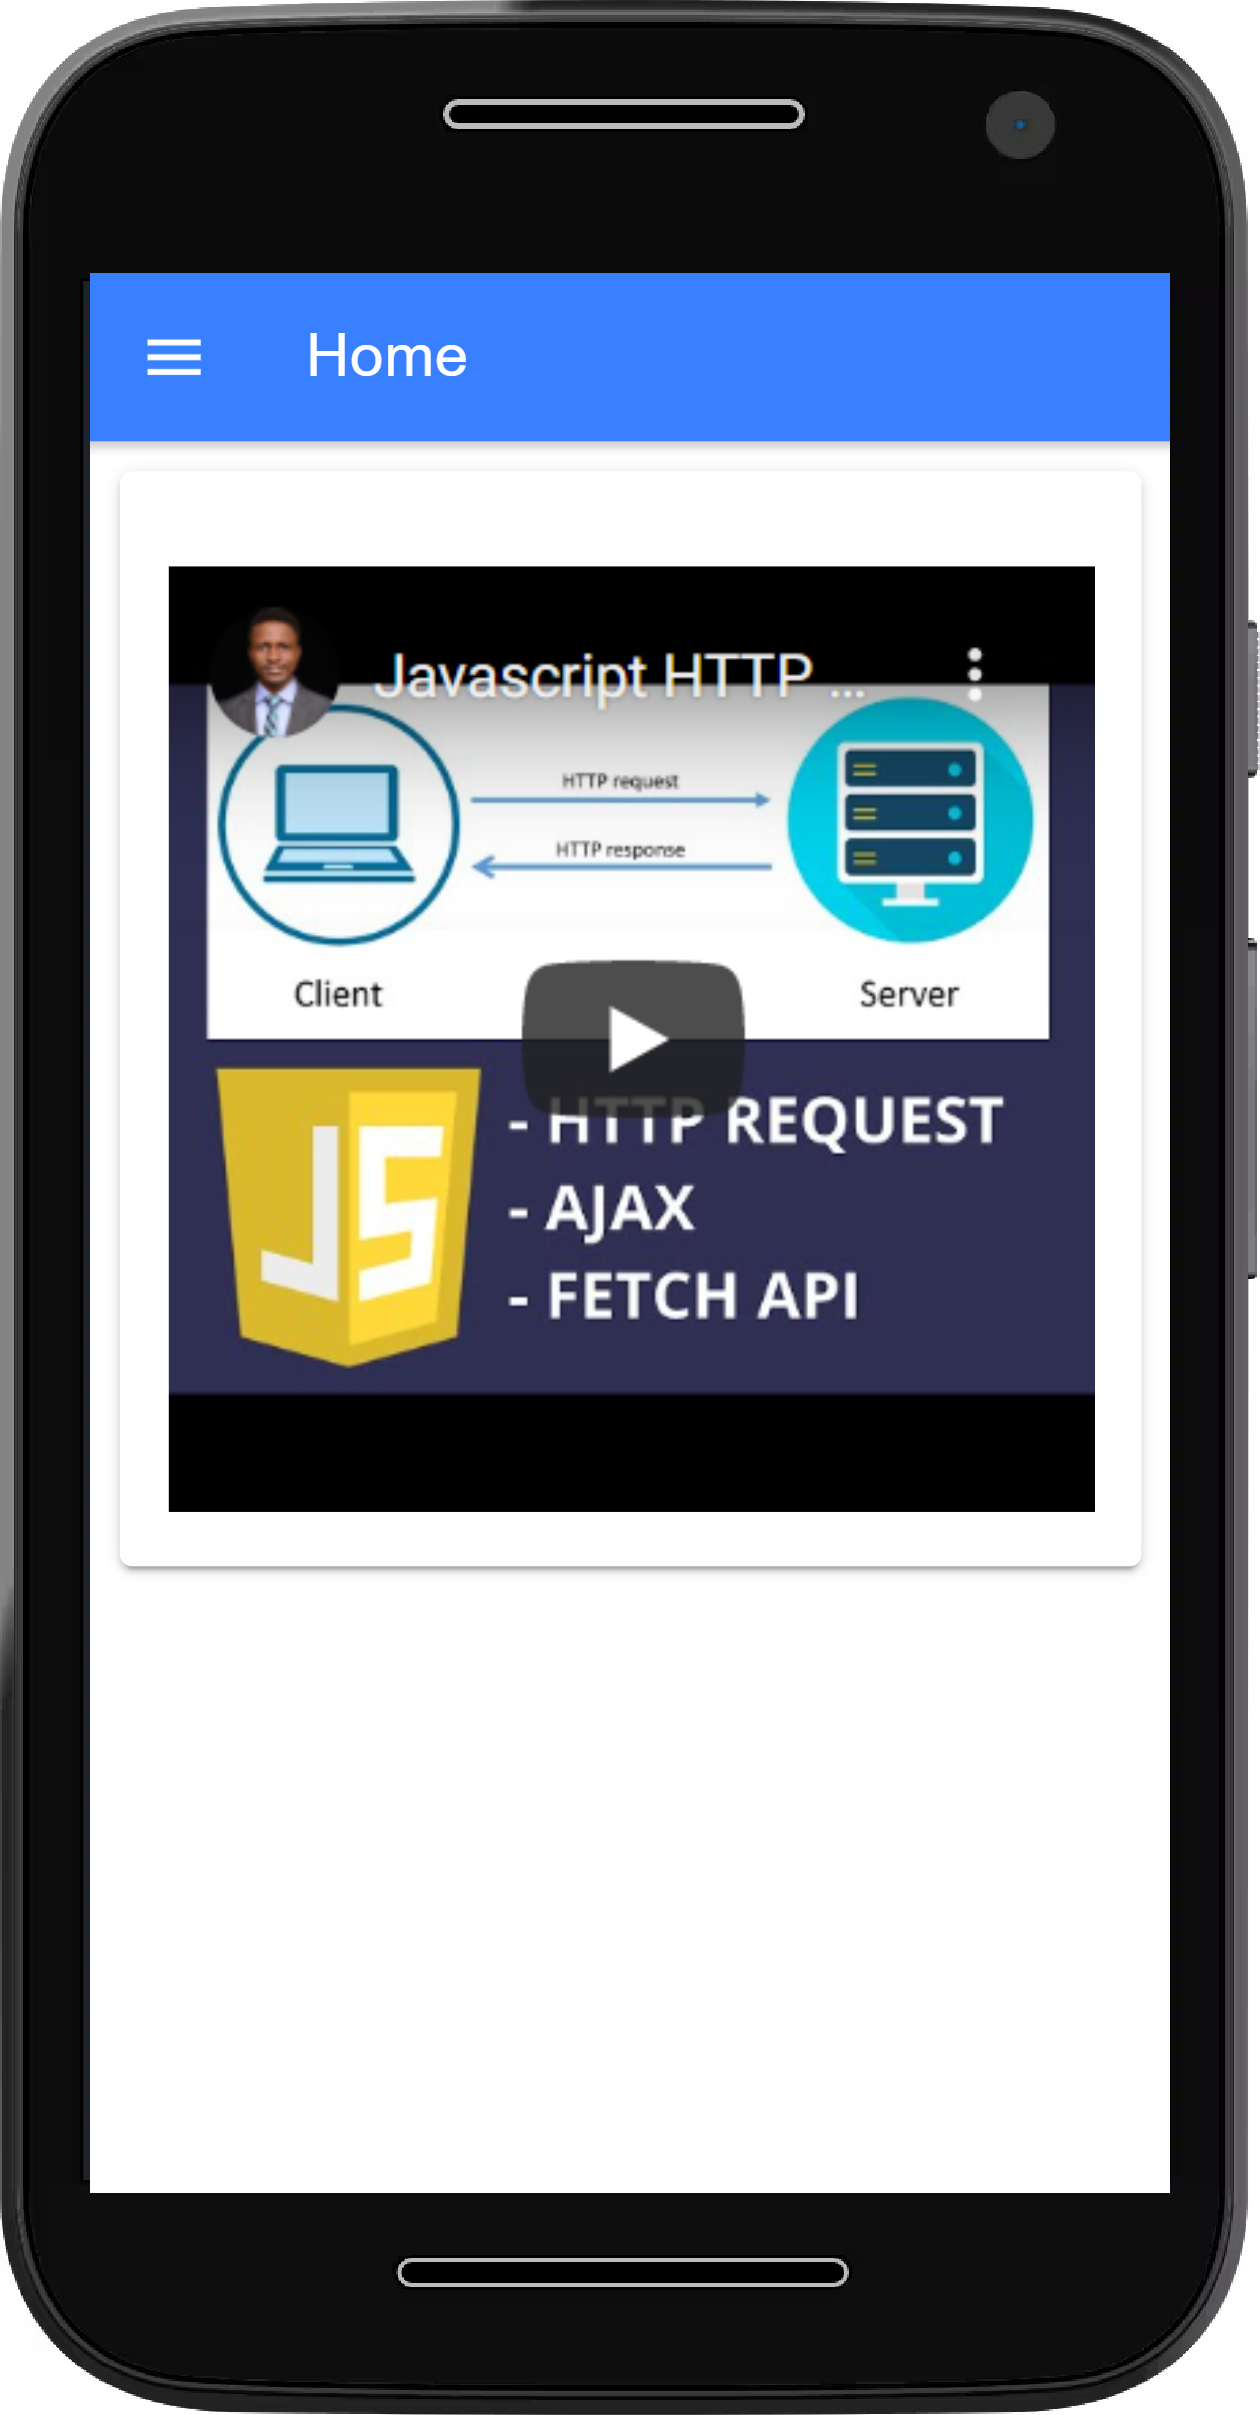
-- Embed YouTube Video --
To embed a YouTube video, go to YouTube and click share, then copy the embed code.
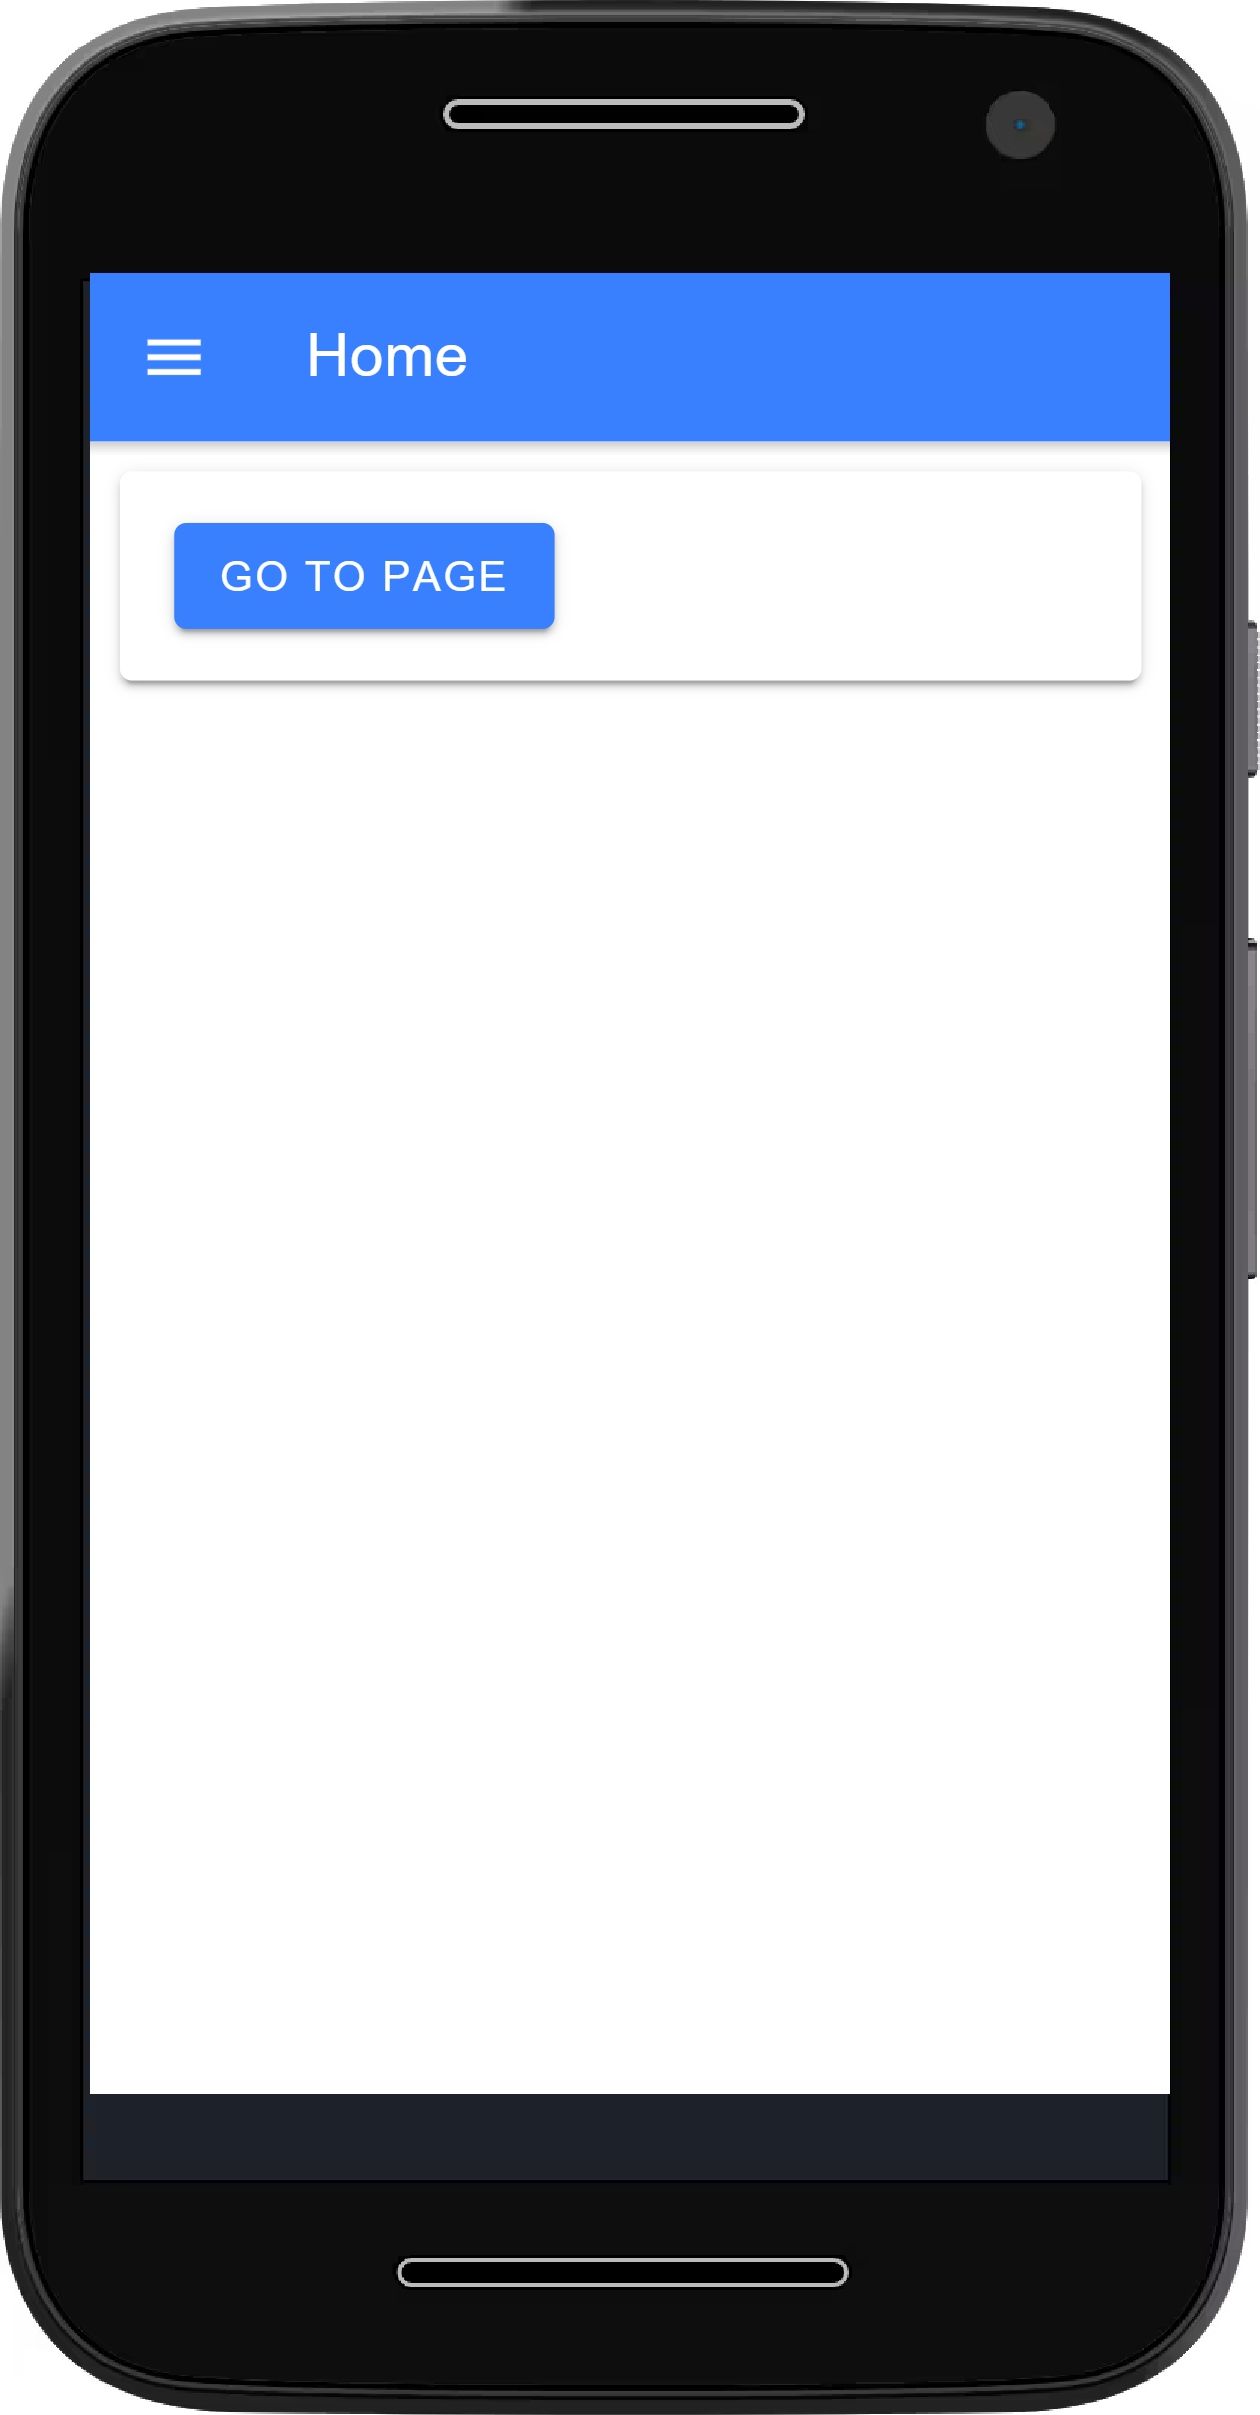
-- Button --
An ionic component that adds a button to a page
Button style attributes
expand="block" : Makes the button full width.
routerLink="page-name" : Navigate to another page when the button is clicked.
color="primary" : Sets the color of the button. See
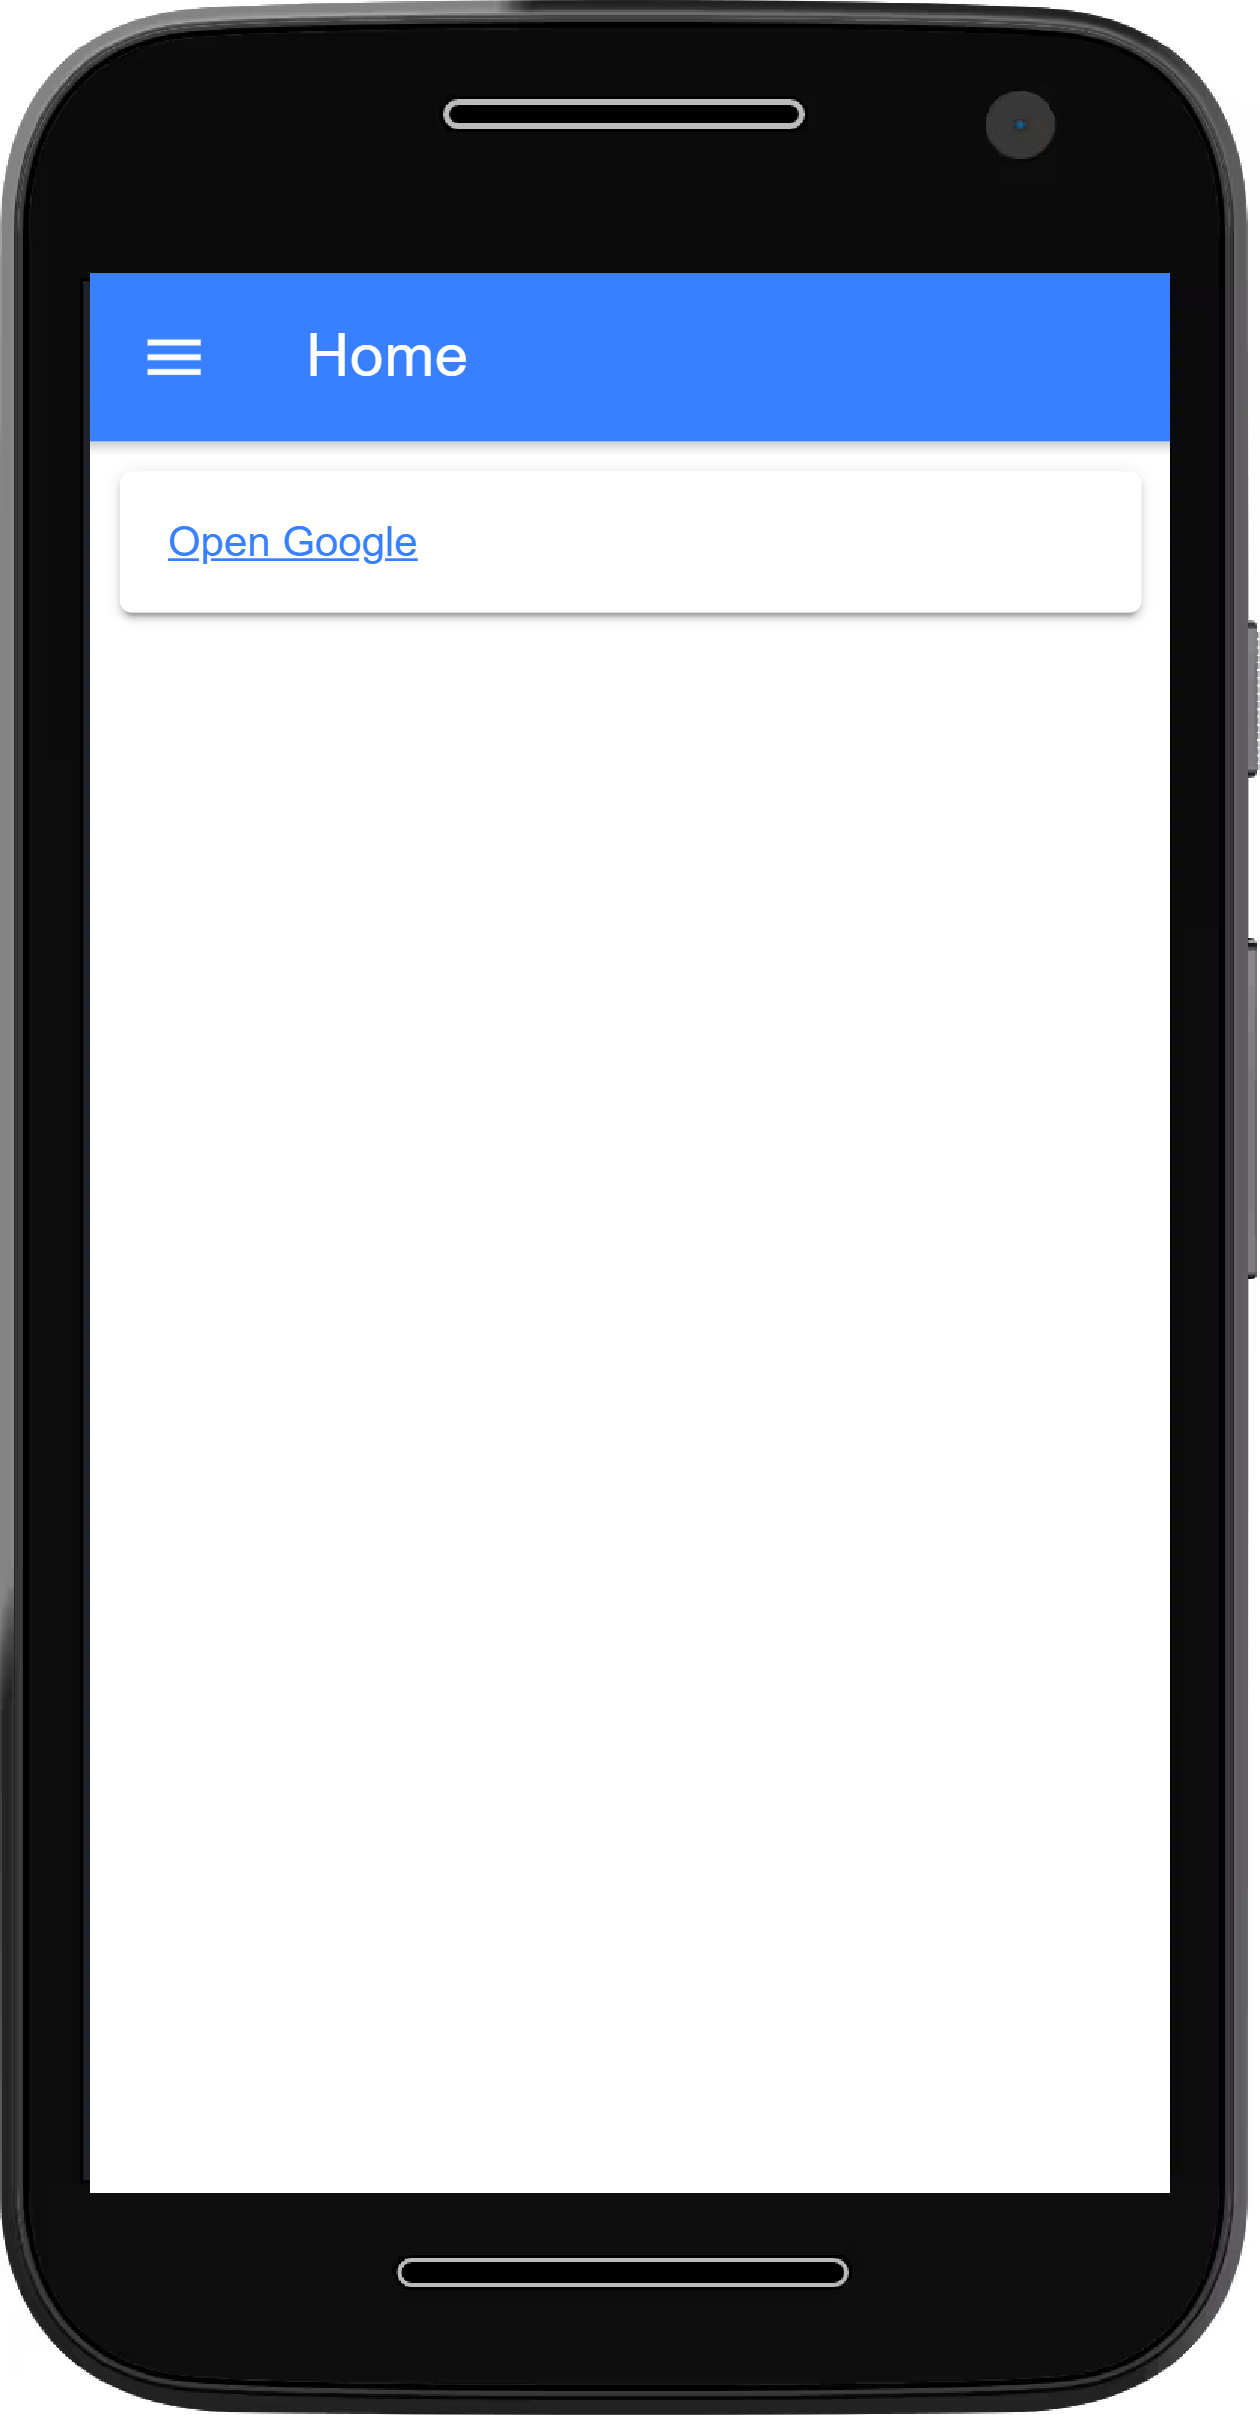
-- External Link --
An ionic component that open a link or website in the browser
-- Line Break/Space
An component that creates space or move text to a new line.
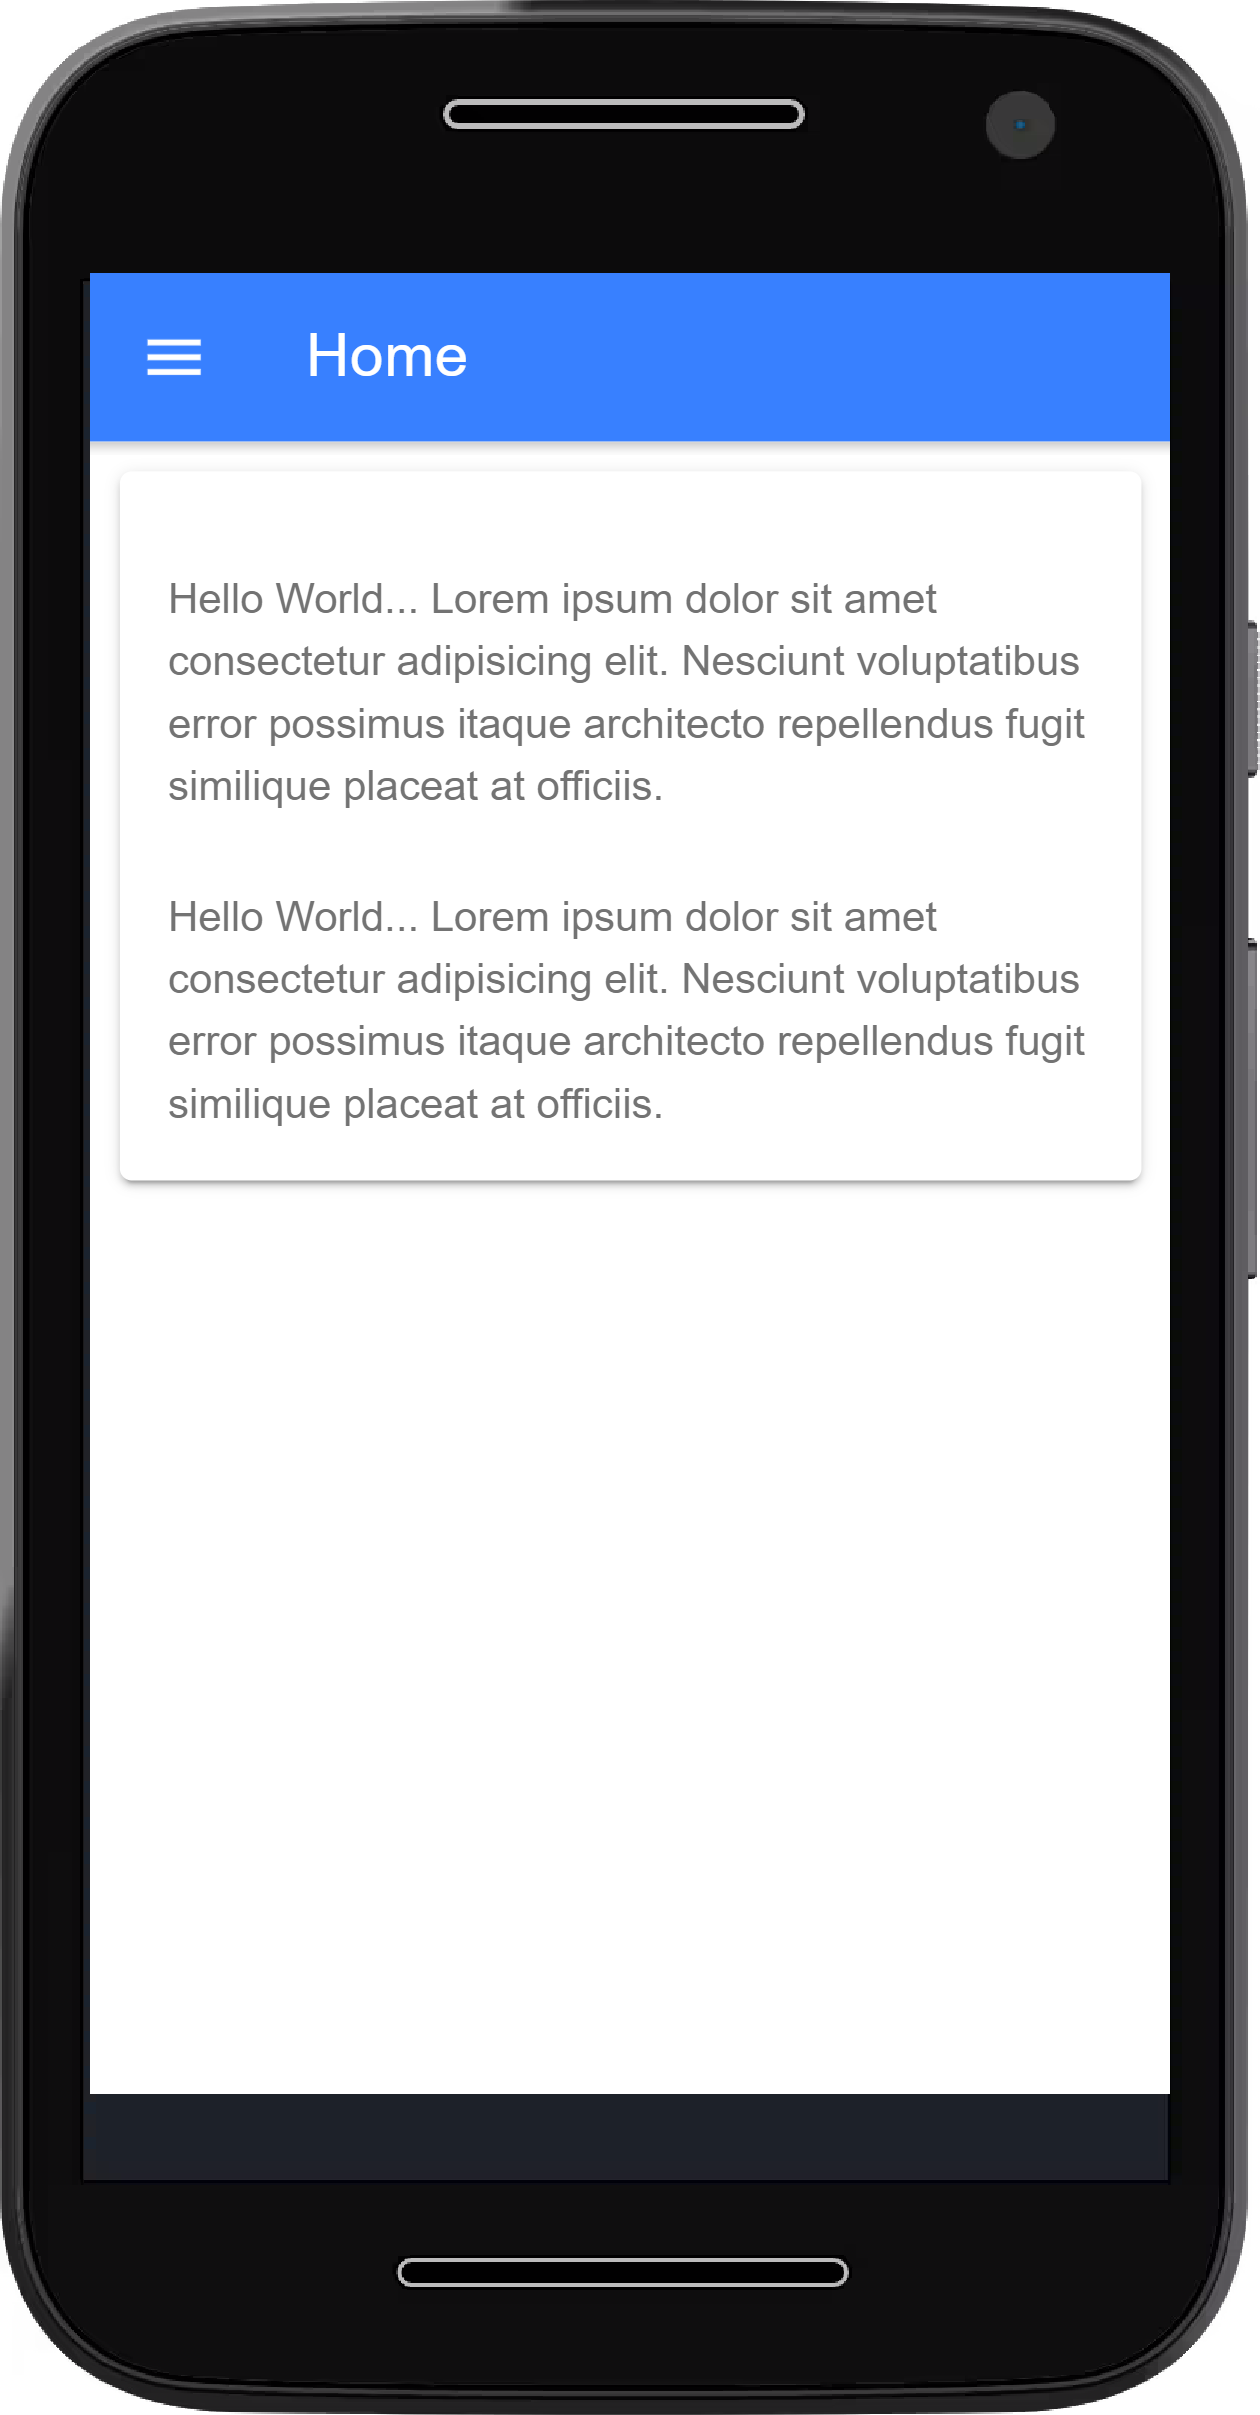
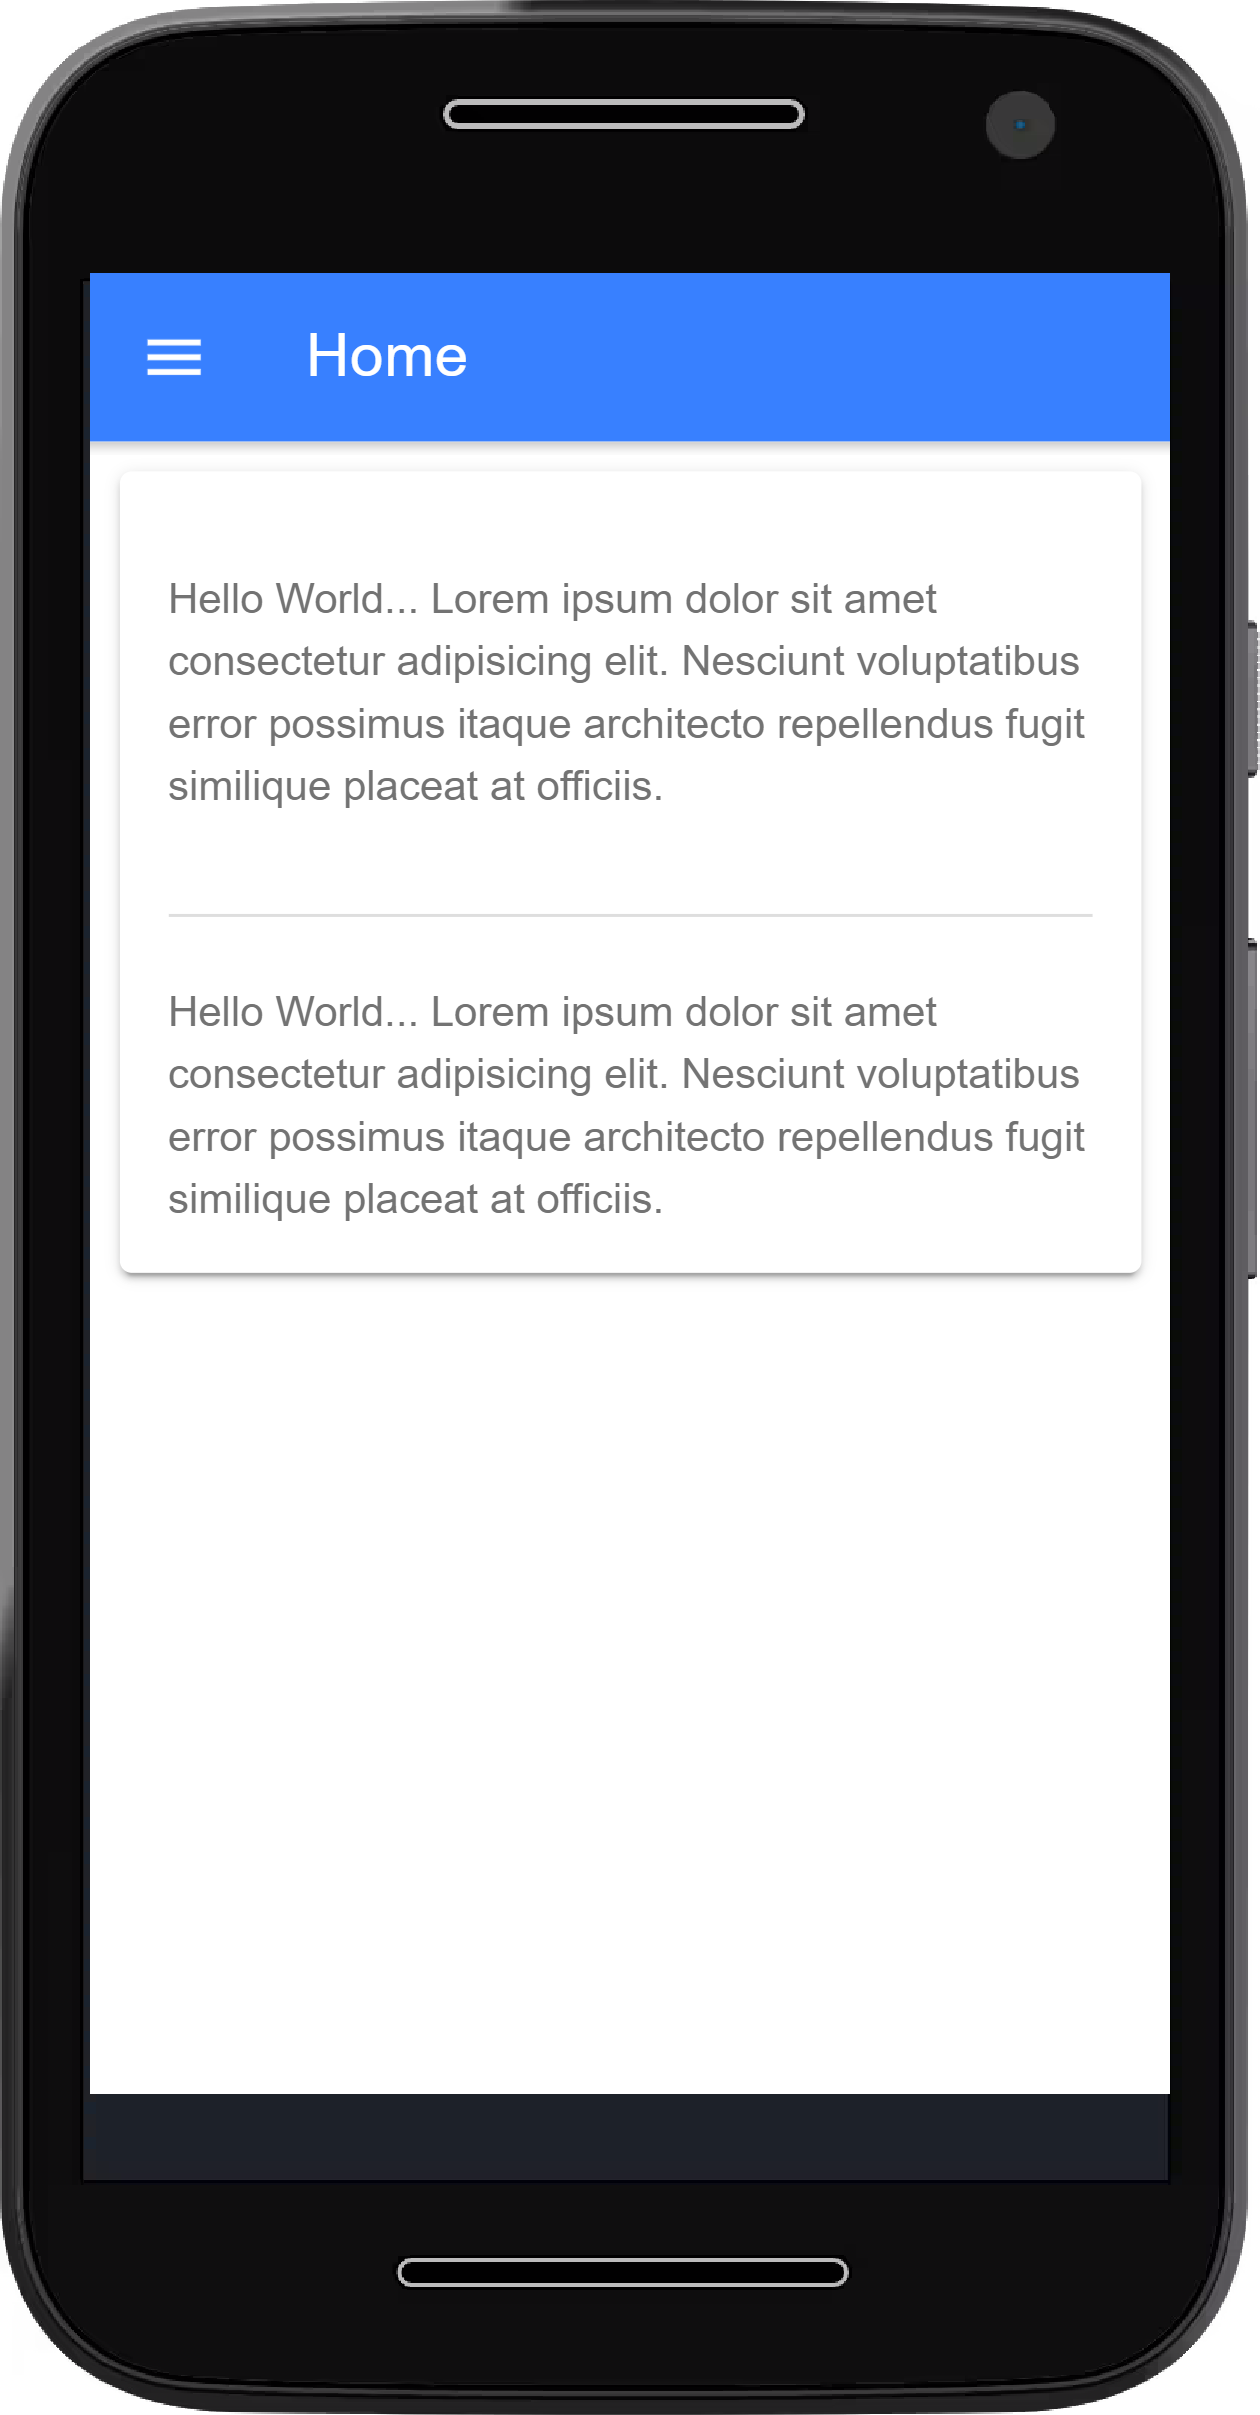
-- Horizontal Line --
An component that add a line to the page
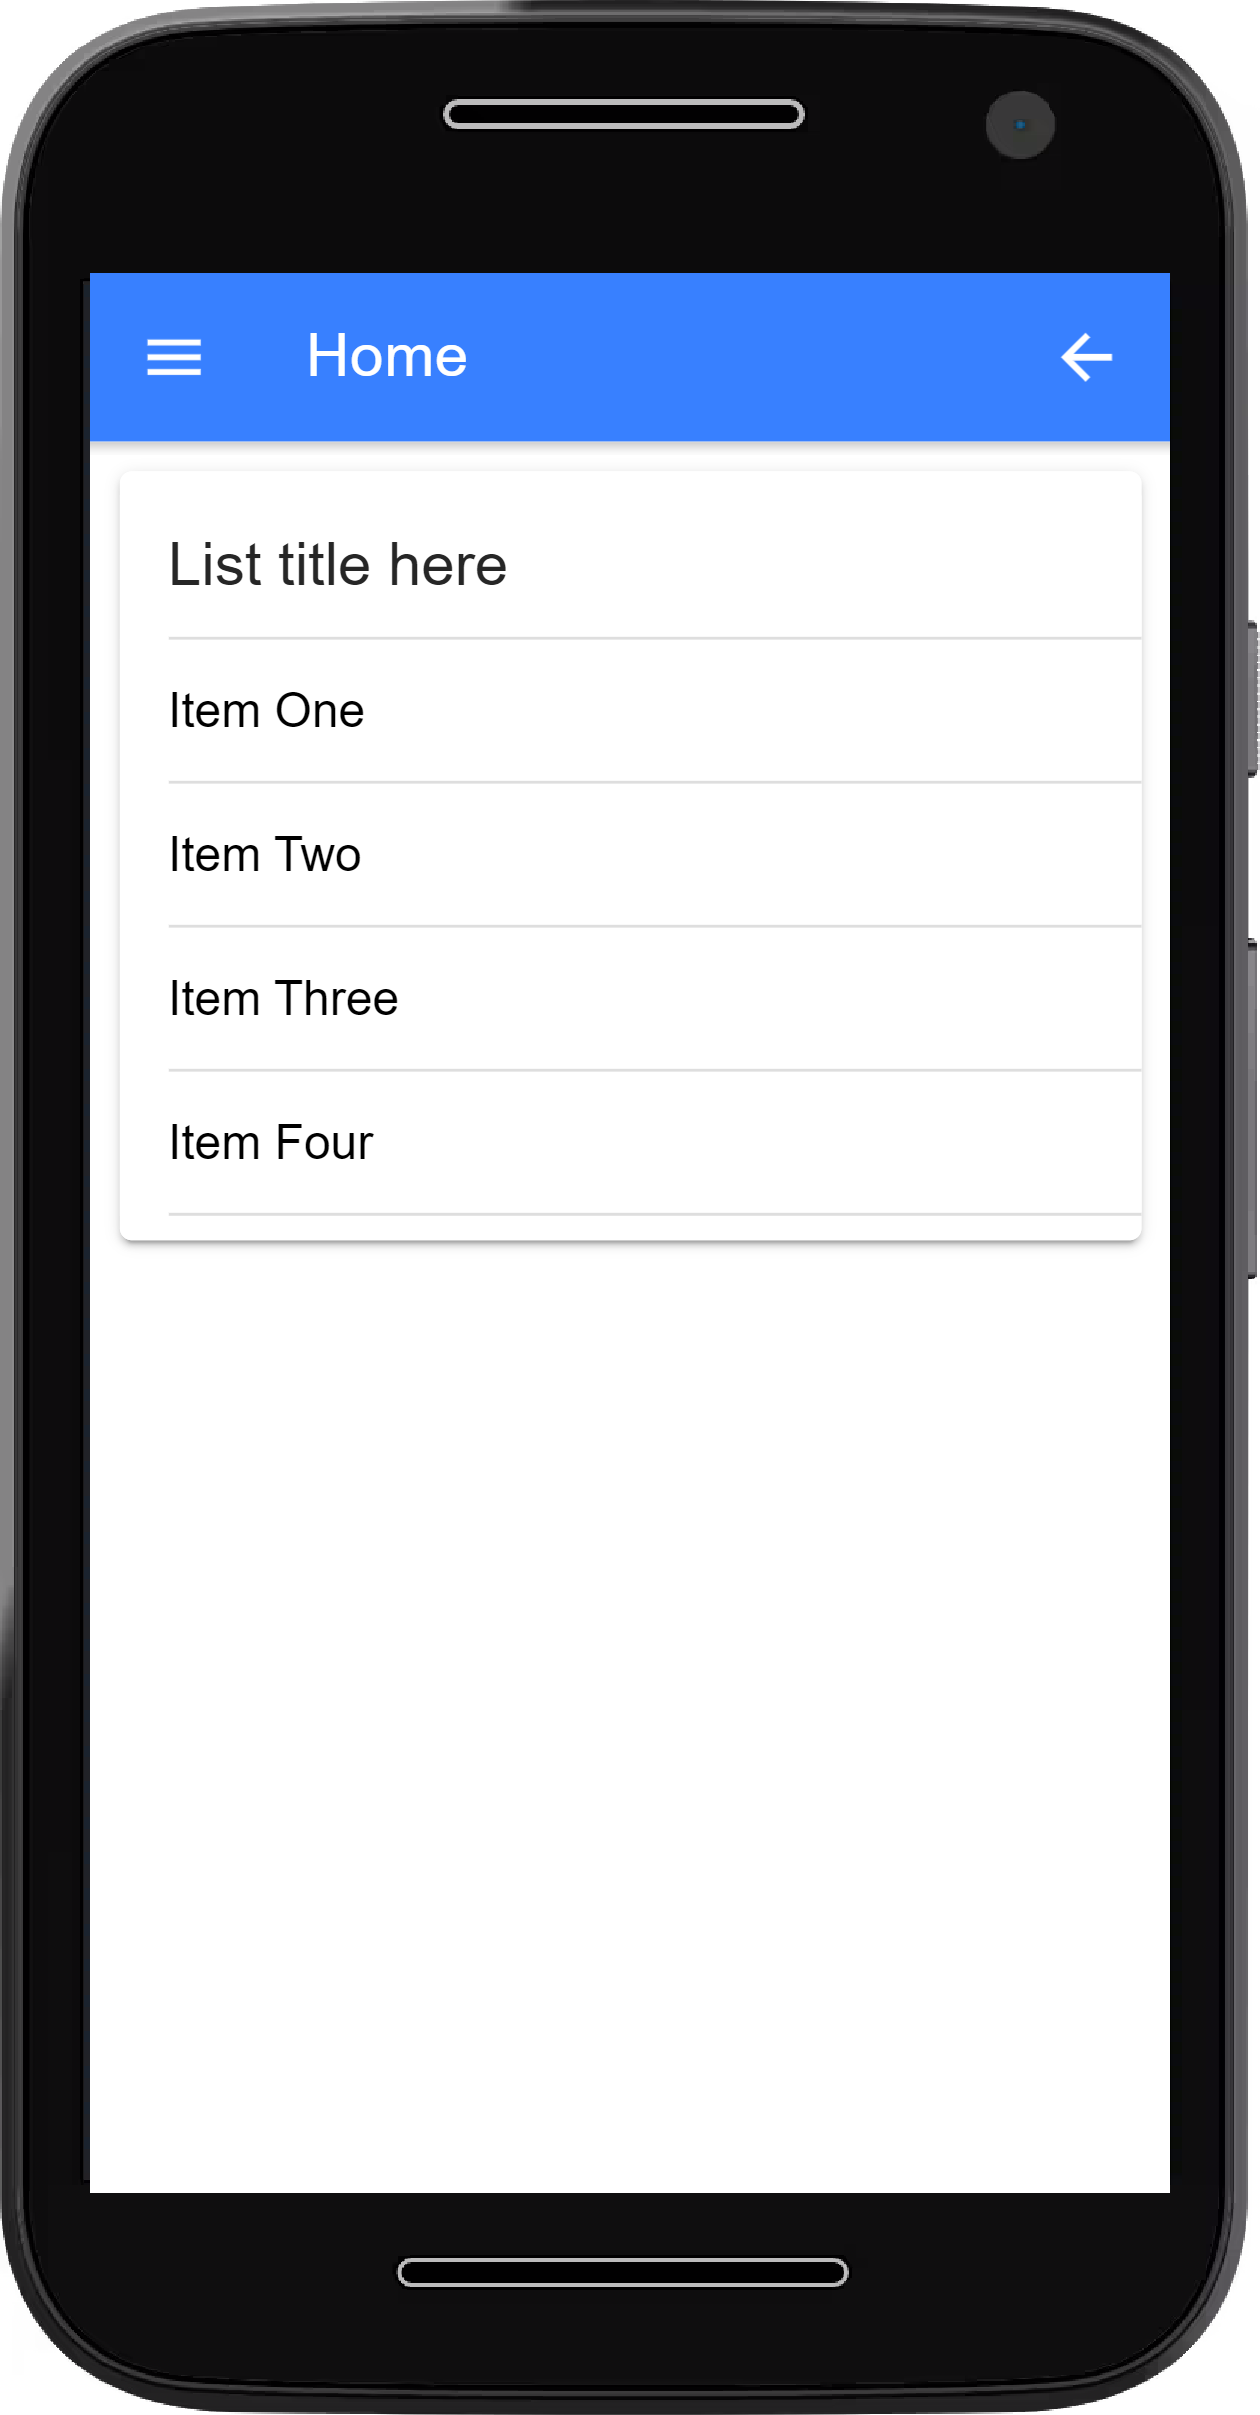
-- List --
An ionic component that adds a list to your page.
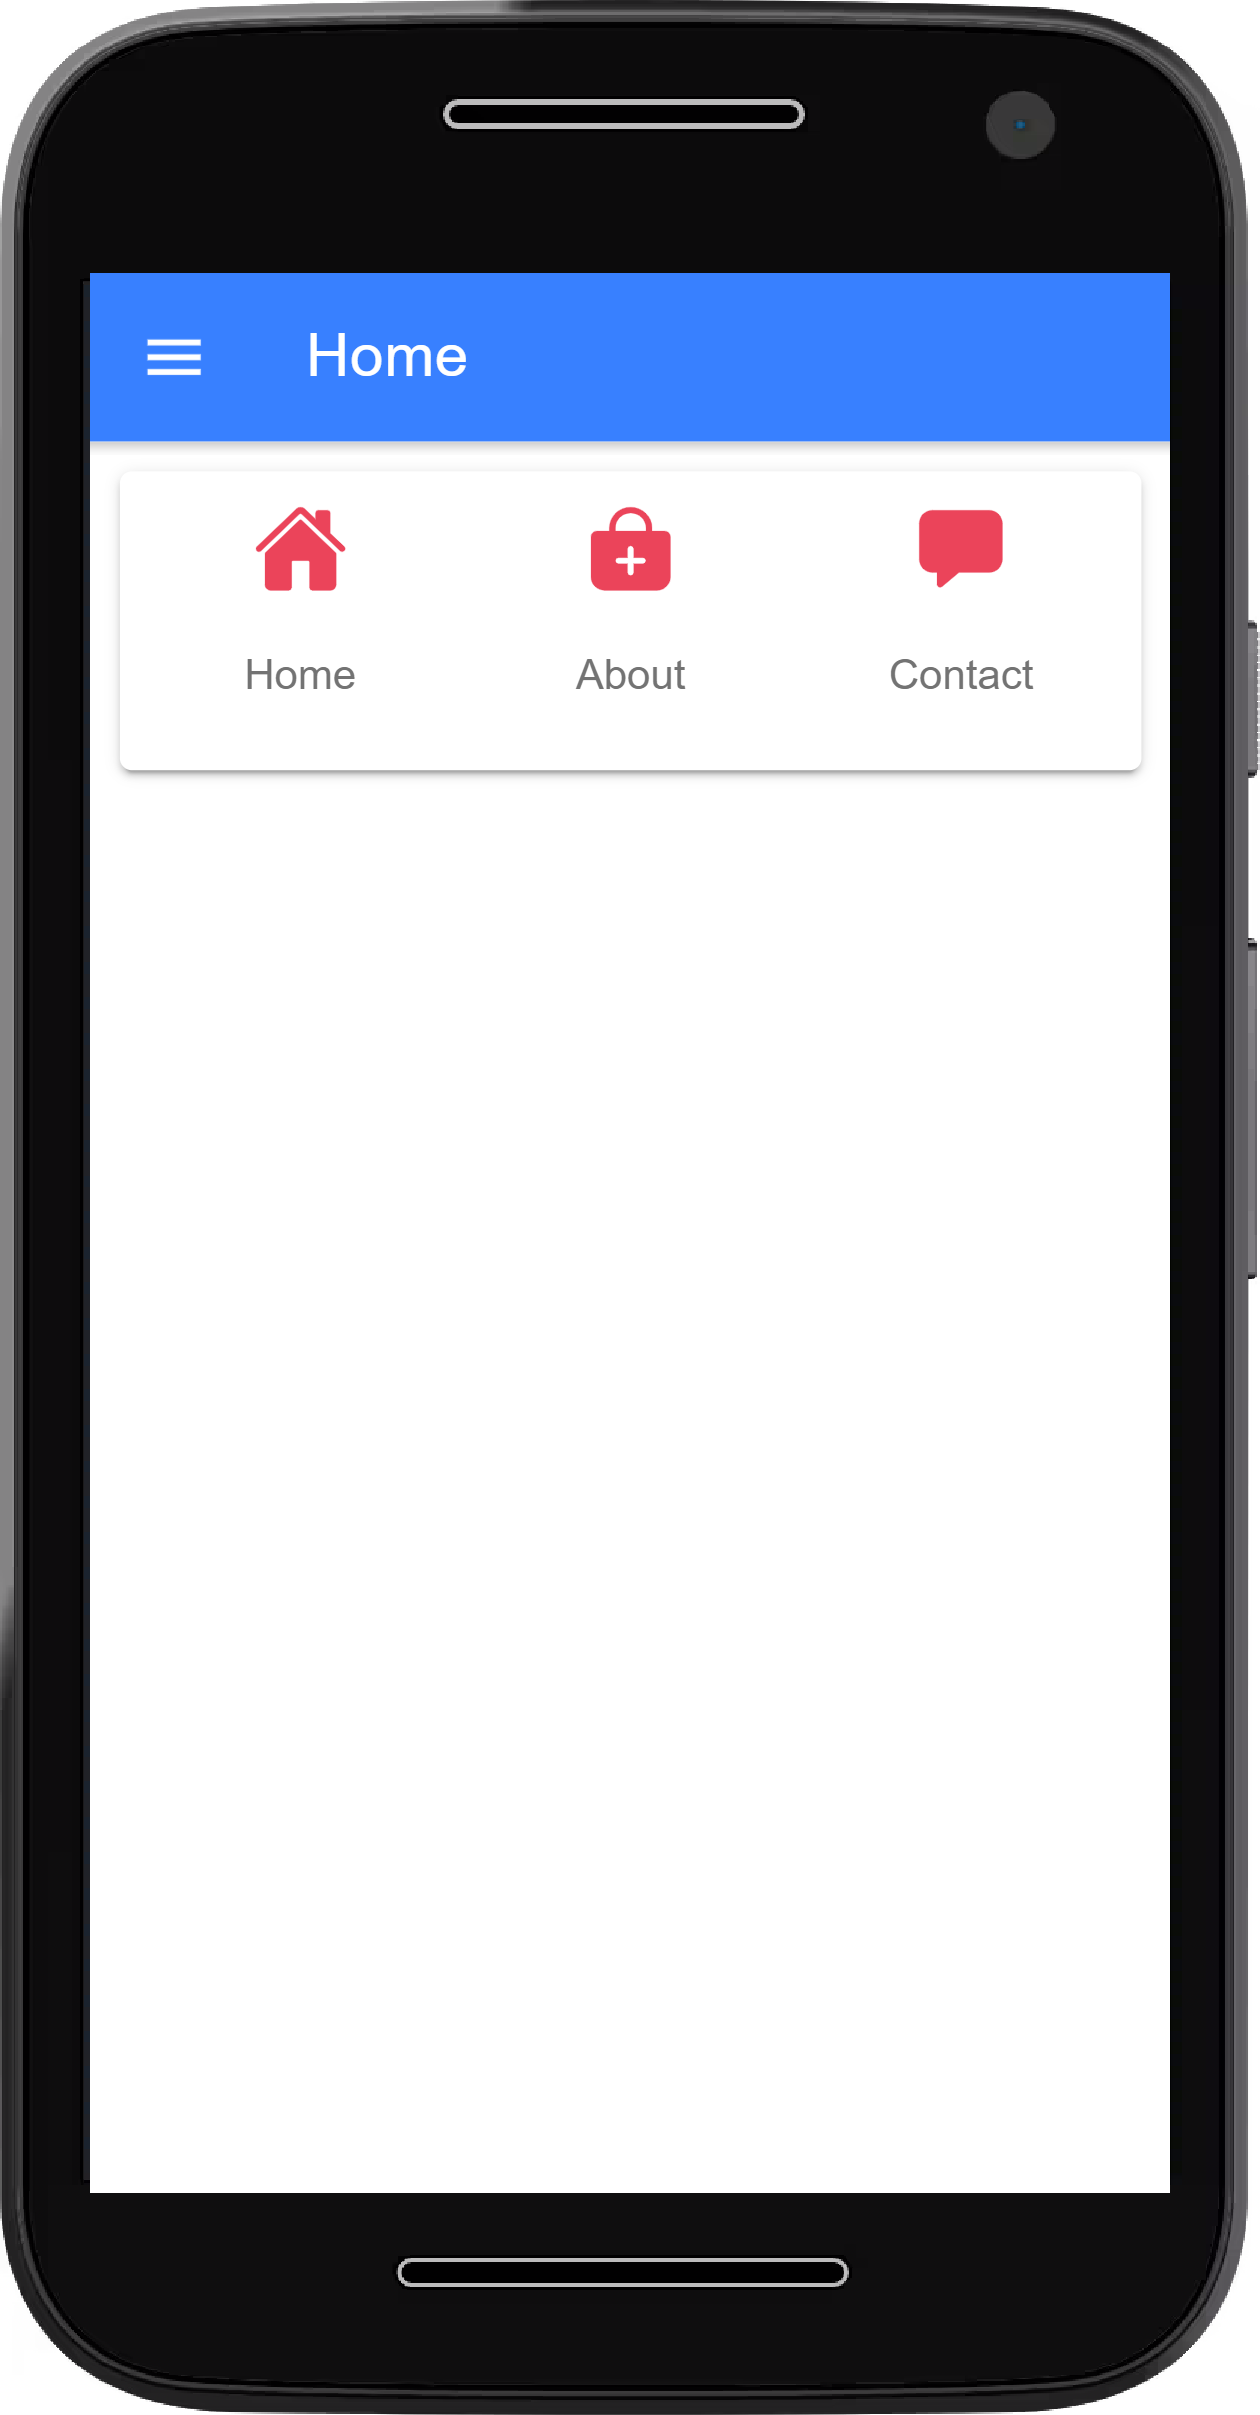
-- Grid --
An ionic component that adds a grid to a page.
-- Ionic Default Colors --
A list of default colors in ionic framework
Add color="primary" to the opening tag.
-- To Create custom color variable, visit Ionic Colors
-- Navigate to AppFolder > src > theme > variable.scss and paste in the generated color
-- Header --
An ionic component that creates an app header
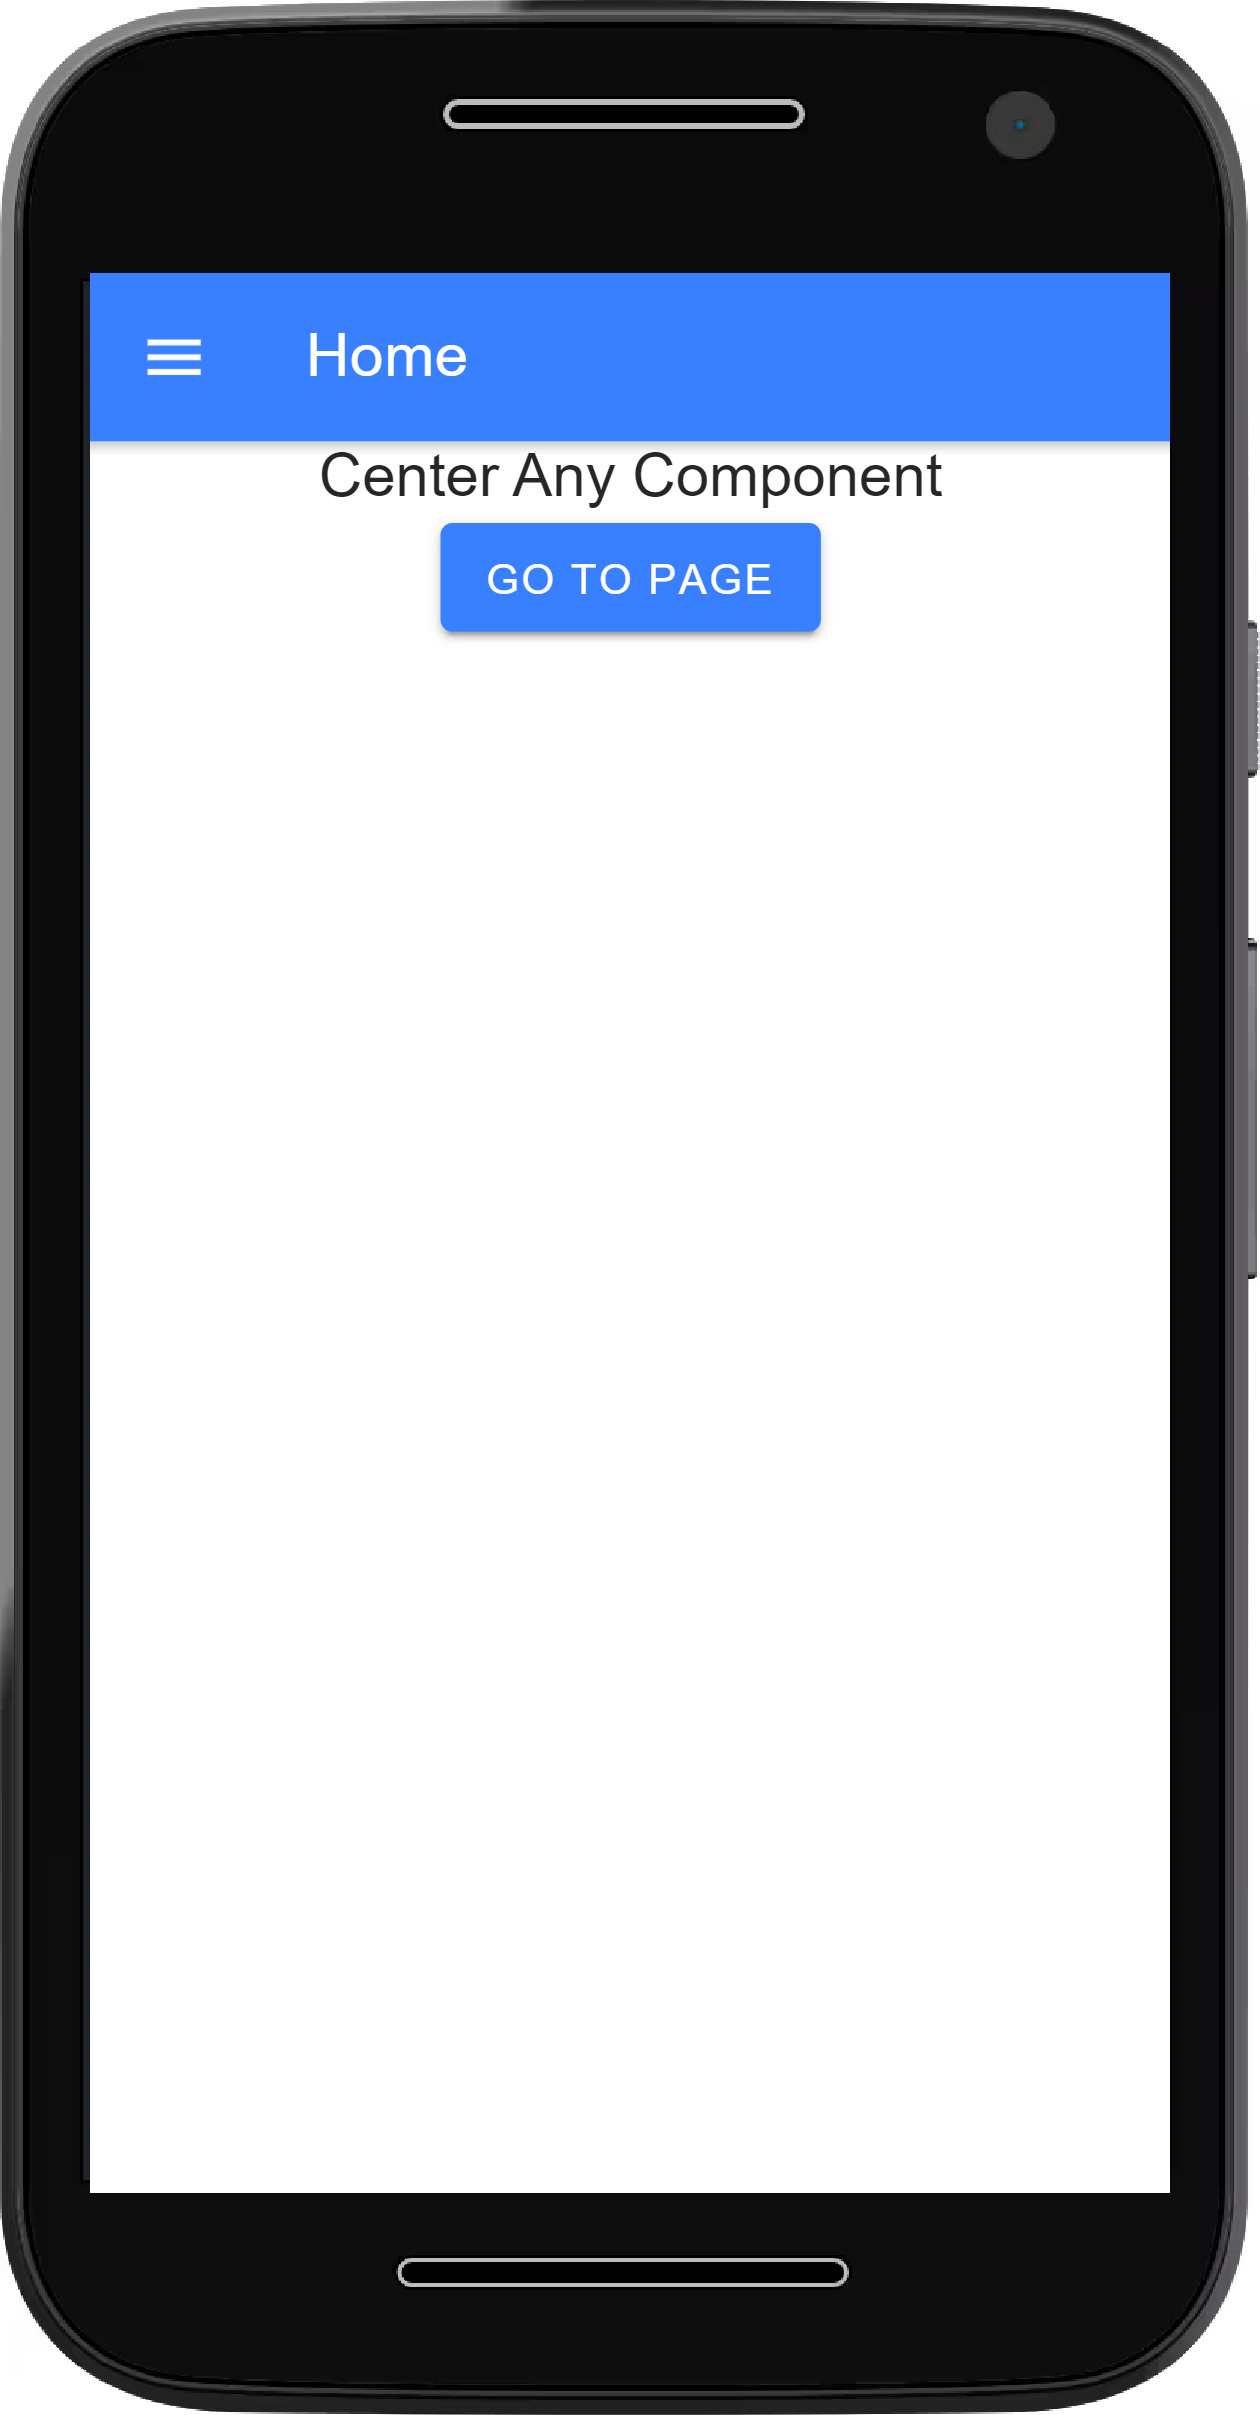
-- Position Content --
An ionic component that position content on a page
Set New Home-Page
Step
To Set a New Home Page
Follow the instructions below
1. Create a page ionic generate page home
2. Go to AppFolder > src > app > app.compoment.ts and import "Router"
3. Add the router to constructor( )
4. Add the code below to the initializeApp( ) { } section.
Exit App on back button click
Works From Home Page
App Close Function
Follow the instructions below
1. Go to app.compoment.ts
2. Add the code below to the initializeApp( ) { } section.
Go back to home page from other pages
1. Go to app.compoment.ts
2. Add the code below to the initializeApp( ) section.
Set App Icon & Splash Screen
Step
To set App Icon & Splash Screen
Follow the instructions below
1. Create an app icon.png with dimension 1024×1024 on → Canva.com
2. Create an app splash.png with dimension 2732×2732 on → Canva.com
3. Navigate to AppFolder > resources and replace the icon and splash images there with the ones you created.
4. Create an Ionic Account → Ionic SignUp
5. On your Terminal, run following command: ionic login
6. Enter you Email and Password when prompted
7. Run ionic cordova resources android
Admob Setup
Monitize your app with Google Admob
Make money from you app with Admob
Follow the instructions below to integrate Admob into your app
1. Create an admob account. → Admob SignUp
2. Create an app
3. Create Banner and Interstitial ad unit
4. Install Admob Plugin. NOTE:Replace App ID with yours.
5. Create a service to handle admob
6. Import AdmobFree and Platform into the admobfree.service.ts file and add to the constructor
7. Add the Interstitial ad config below export class AdmobfreeService {
8. Add Interstitial code to the constructor ( ) { }
9. Call Banner and Interstitial Ad after the constructor ( ) { }
10. Import Admob and Admob service to app.module.ts and add them to the providers
11. Call ads on home.page.ts
Import admob services
Add services to the constructor ( )
Call the Banner ads inside ngOnInit( ) { }
Call the Banner ads below ngOnInit( ) { }
Call the interstitial ad from a menu or button click on the home page
Test on Emulator/Device
Testing Time
To test your app
Follow the instructions below.
Build Signed Apk
Ready to upload to Google PlayStore
To Build a signed APK
Follow the instructions below
1. Change the app details in config.xml file
2. Build a non-signed APK
3. Prepare Android for Build/Update
4. Open Android Studio
Details needed at this stage
- 1. Keystore password:
- 2. Firstname and Lastname:
- 3. Name of your organizational unit?
- 4. Name of your organization?
- 5. Name of your city or locality?
- 6. Name of your state or province?
- 7. Two-letter country code?
Troubleshoot
Step
Troubleshooting secion
This section contains solution to issues you might face while building your app
